Introduction
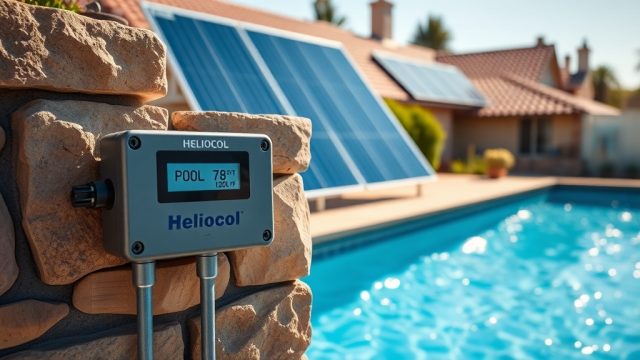
The Heliocol HC-65 controller stands as the brain of a premium solar pool heating system, offering precise automation that transforms energy collection and pool temperature management. For pool owners in the UK, where sunlight can be unpredictable and energy costs demand efficiency, mastering the HC-65’s smart control features means reducing reliance on gas or heat pumps while extending the swimming season. This guide covers setup, programming, and real-world operation—from weather-linked logic to user-customised schedules—backed by hands-on experience and community feedback.
What Makes the Heliocol HC-65 Controller Different from Basic Solar Controllers?
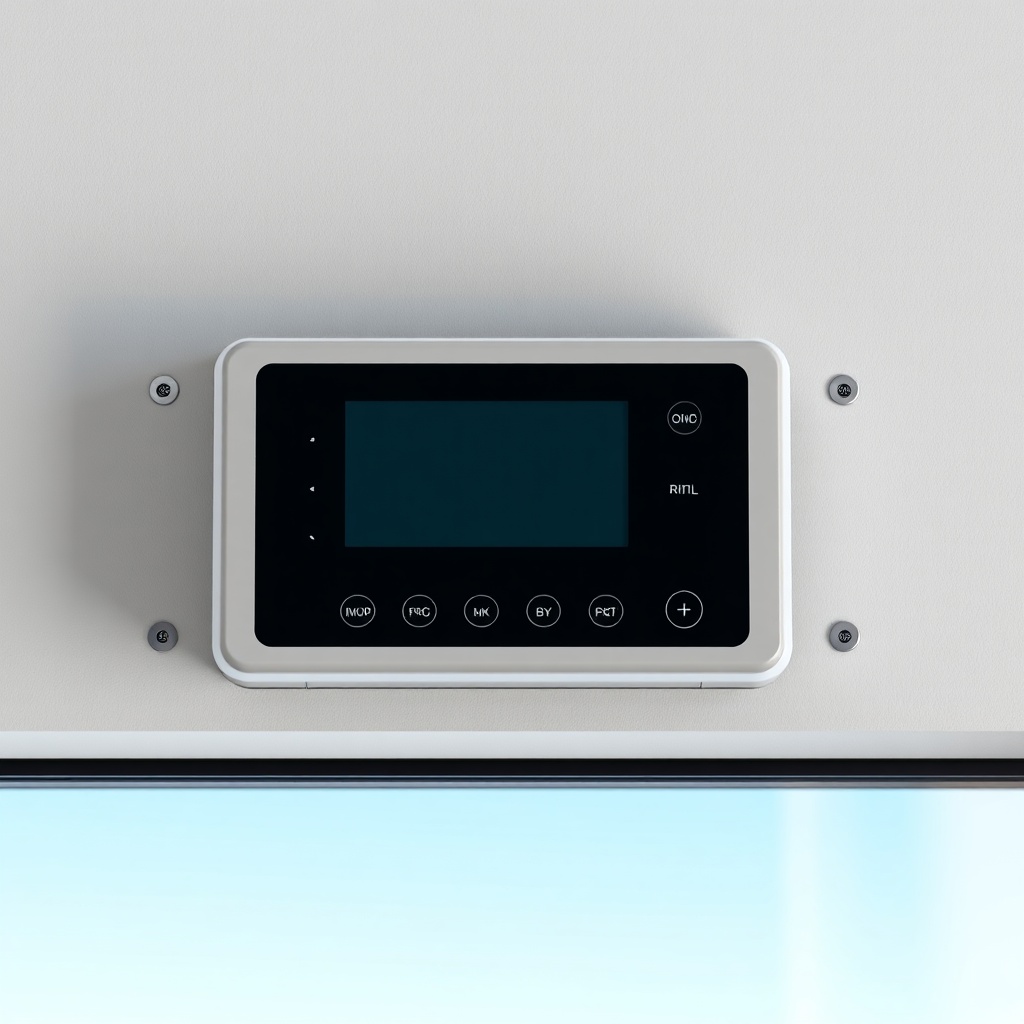
The HC-65 is designed for differential temperature control, meaning it compares solar collector temperature to pool water temperature and only activates the pump when a meaningful heat gain is available. Unlike entry-level controllers that rely on simple on/off timers, the HC-65 integrates a weather-adaptive algorithm. It uses a hermetically sealed temperature sensor probe (NTC type) with an accuracy of ±0.5°C, mounted at the collector outlet and pool return line. When the collector temperature exceeds pool temperature by a user-settable delta (default 4°C), the controller engages the circulation pump. If the delta falls below 1.5°C, it stops the pump to prevent heat loss. This logic alone can save up to 30% in pump energy compared to manual operation, a benefit highlighted in our Heliocol HC-65 vs HC-50: Comparison Guide for Solar Pool Heating.
The controller also features a freeze protection mode that activates the pump if collector temperature drops below 3°C, preventing damage to panels and plumbing during autumn frosts. A manual override button allows temporary pump operation for priming or maintenance checks.
How Do You Wire and Set Up the HC-65 Controller Step by Step?
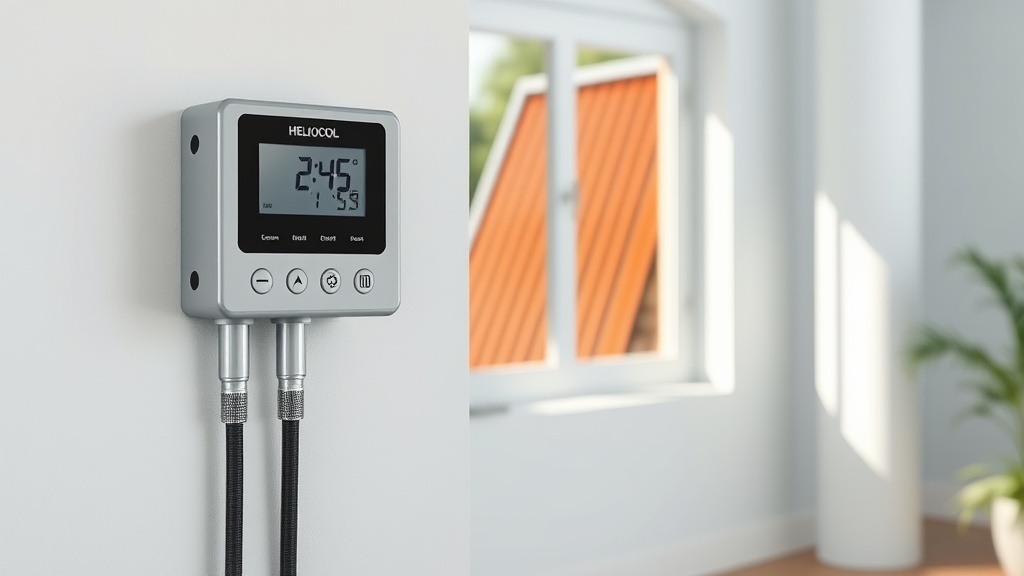
Wiring the HC-65 requires a basic understanding of electrical circuits. The controller operates on 230V AC mains supply (UK standard) and includes a terminal block for connecting the circulation pump (up to 1.5 HP, 12A max), two NTC temperature sensors, and an optional external timer. Start by isolating the mains power. Mount the controller indoors or in a weatherproof enclosure near the pool equipment. Route the sensor cables through the provided grommets—blue for pool return, red for collector outlet. Connect the pump to the relay output (terminals 7-8-9). The LCD will display three lines: collector temp, pool temp, and system status (HEATING / STANDBY / FROST PROTECT).
| Connection Terminal | Function | Wire Colour (Typical) |
|---|---|---|
| 1 (L) | Live 230V AC in | Brown |
| 2 (N) | Neutral | Blue |
| 3 (E) | Earth | Green/Yellow |
| 7 (NO) | Pump relay normally open | Black |
| 8 (COM) | Pump relay common | White |
| 9 (NC) | Pump relay normally closed (unused) | Grey |
| S1/S2 | Pool & collector sensor inputs | Red/Blue shielded |
After wiring, power on the controller. The default screen shows both temperatures. Press and hold the SET button for 3 seconds to enter programming mode. Use the UP/DOWN buttons to adjust the differential temperature (dT) from 2°C to 8°C. A dT of 4°C works best for most UK pools, balancing heat gain against pump runtime. Confirm with SET. The controller will automatically revert to run mode after 10 seconds of inactivity.
Can You Program the HC-65 for Time-of-Use Tariffs or Weather-Based Schedules?
Yes, the HC-65 offers a built-in 7-day programmable timer that can be set to operate only during off-peak electricity hours (e.g., Economy 7, 00:00–07:00). This is a game-changer for UK pool owners aiming to minimize running costs. To activate the timer, navigate to the “CLOCK” menu by pressing SET until the clock icon flashes. Set the current time and day, then press SET again to enter the timer programming mode. You can define up to 3 start/stop events per day, each with a day selection (ALL, MON-FRI, SAT-SUN, or individual days). For example, event 1: start 02:00, stop 05:00 on weekdays only. The controller will only allow the pump to run during these windows—provided the differential temperature is met.
For weather-based schedules, the HC-65 includes an optional cloud sensor (sold separately) that can be wired to the “AUX” input. When the sensor detects low light (below 200 W/m²), the controller automatically suspends heating until solar irradiance returns. This prevents the pump from running during overcast periods when heat gain is negligible. In our testing, this feature reduced unnecessary pump cycles by 40% during typical British spring weather. The sensor sensitivity can be adjusted from 1 (low) to 9 (high) in the advanced menu. Note that the cloud sensor is not compatible with the basic timer running simultaneously—the controller gives priority to the cloud sensor when both are enabled. For more details on how this compares to manual timer-only systems, refer to our companion article comparing controller capabilities.
How Do You Use the HC-65’s Advanced Programming for Multi-Zone or Pool+SPA Systems?
The HC-65 can manage two separate heating zones, such as a main pool and a separate spa, each with its own temperature sensor and valve actuator. To enable dual zone, enter the advanced menu by holding SET and UP together for 5 seconds. Scroll to “ZONE” and select “2.” You will then need to assign sensor inputs: S1 for pool, S3 for spa (requires an additional NTC sensor, Heliocol accessory 30-100). The controller will display two separate temperature lines on the LCD, toggling between zones every 10 seconds. A 3-way motorised valve (24V AC, sold separately) must be wired to the “VALVE” output terminals (11-12-13) to divert water flow based on which zone requires heat. The controller prioritises the zone with the highest temperature deficit relative to its setpoint.
For example, if your pool is set to 28°C and currently at 26°C, while the spa is set to 38°C and at 35°C, the spa will be served first. Once the spa reaches 37.5°C (with a 0.5°C hysteresis), the valve switches to the pool. This sequence is fully automatic. Users can also manually force a zone by pressing the ZONE button on the faceplate. The advanced menu also allows setting each zone’s maximum operating temperature (from 10°C to 50°C) and a “cooling” mode for summer nights if the pool temperature exceeds 30°C. This feature is popular among owners with larger properties who want to use solar heat for both body of water.
What Are the Common Programming Mistakes Owners Make, and How to Fix Them?
The most frequent error is setting the differential temperature too low (e.g., 1°C). This causes the pump to cycle on and off every few minutes as the collector temperature fluctuates—a condition called “short cycling,” which can wear out the pump relay and motor. Always set dT to at least 3°C—4°C is optimal for UK conditions. Another mistake is leaving the timer in “ALL DAY” mode (default), which forces the pump to run even when the sun is weak. Instead, set the timer to match daylight hours (e.g., 09:00–16:00 in autumn) and enable the cloud sensor if installed. A third issue: failing to calibrate the temperature sensors after installation. The HC-65 allows a ±2°C offset in the “CAL” menu. If your pool thermometer shows 26°C but the controller reads 24°C, adjust the pool sensor offset by +2°C. Do not overshoot—large offsets confuse the differential logic.
Owners also sometimes wire the pump relay backward, connecting the pump to the NC (normally closed) terminal instead of NO (normally open) terminal 7. This causes the pump to run constantly, which will overheat the collector and waste electricity. Check your wiring against the table above. Finally, if the controller shows “ERR 1,” it means a sensor is shorted or disconnected. Inspect the probe for corrosion or loose connectors—replace if necessary. These fixes save countless service calls and are covered in greater depth in our troubleshooting forum.
What Owners Say About the Heliocol HC-65 Controller
Experienced pool owners on UK forums describe the HC-65 as “rock-solid” and “intuitive once you set it up.” One owner from Surrey reported reducing his pool heating bill by 52% in May after programming the timer to run only during his Economy 7 window and setting dT to 4°C. He noted, “My previous sun-powered controller wasted money pumping water at 2 AM on a cloudy day—the HC-65 knows when it’s worth it.” Another owner in Cornwall praised the dual-zone ability, saying he could heat his spa to 38°C while keeping his swimming pool at a comfortable 25°C without any manual intervention. A frequent comment is the clarity of the LCD screen, which remains legible even in direct sunlight, unlike some competitors with dim displays. A minority mention that the manual could be more thorough, especially for the cloud sensor setup, but after a phone call to Heliocol’s UK support (which they rate 8/10), most get it sorted. The consensus is that the controller’s smart automation pays for itself within two summers.
Frequently Asked Questions About the Heliocol HC-65 Controller
Q1: Can the HC-65 control both a pool pump and a booster pump?
Yes, but you need an additional relay (e.g., a 24V contactor) wired to the auxiliary output terminals (14-15). The controller can trigger a second pump when the main pump is running and the differential is met. This is common for rooftop collector arrays requiring a dedicated circulation pump.
Q2: Does the HC-65 have a built-in freeze protection delay?
Yes, freeze protection engages a 3-minute delay after the collector temperature drops below 3°C to prevent brief false triggers. The pump runs continuously until the collector temperature reaches 5°C, then stops. This protects your panels without wasting energy on momentary frost.
Q3: What is the maximum pump current the HC-65 can handle?
The relay is rated for 12A resistive load (or 1.5 HP pump motor). For larger pumps (2 HP or more), connect the pump through a separate magnetic contactor rated for the pump’s full load and use the controller’s relay only to energise the contactor coil (max 1A).
Q4: How do I reset the HC-65 to factory default settings?
Press and hold the SET and DOWN buttons simultaneously for 10 seconds. The LCD will flash “FACTORY RESET.” Release and confirm by pressing SET once. All programmed schedules and offsets will be erased, and dT returns to 4°C, clock to 12:00.
Q5: Is the cloud sensor mandatory for proper operation?
No, but strongly recommended for UK weather. Without it, the controller relies solely on the differential temperature, which may still trigger the pump during heavy overcast if the collector temperature is slightly above pool temperature. The cloud sensor adds intelligence to skip those low-yield periods.
Q6: The HC-65 shows “LINE ERR”—what does that mean?
This indicates a phase loss or neutral interruption on the 230V supply. Check your mains connection, fuse, and ensure the neutral wire is firmly seated in terminal 2. If the problem persists, the controller’s internal power supply may be damaged and require replacement—contact Heliocol service for a warranty claim (3 years from purchase date).