Introduction
When the swimming season winds down and temperatures drop, failing to properly winterize your Fafco Solar Bear system can lead to cracked collectors, burst supply lines, and costly repairs that run £300 to £1,200. The Fafco Solar Bear, with its unglazed polypropylene panels, is particularly vulnerable to freeze damage if water remains trapped inside. This guide provides a step-by-step draining and system protection protocol tailored to the Solar Bear’s unique design, helping you extend panel lifespan and avoid unnecessary expenses.
Why Does the Fafco Solar Bear Need Special Winterization?
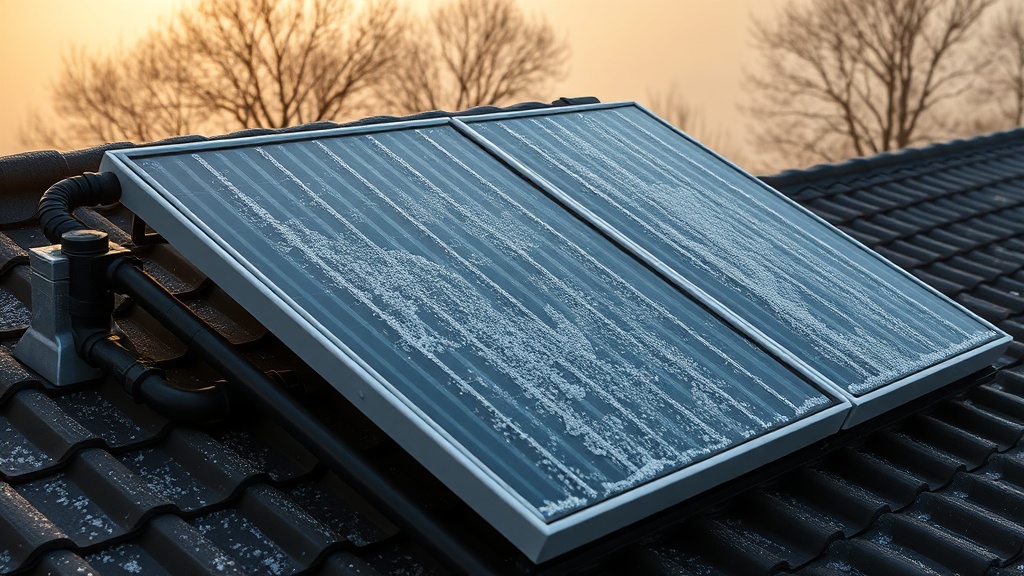
Unlike glazed collectors or rubber mats, the Fafco Solar Bear uses extruded polypropylene tubes that expand and contract with temperature changes. Water left in these tubes during freezing conditions can rupture the small-diameter flow channels, causing permanent leaks that require full panel replacement. The polypropylene material also lacks the flexibility of rubber, making it more susceptible to cracking when ice forms. Additionally, the unglazed design exposes collectors directly to ambient air, accelerating heat loss and freeze risk. Proper winterization—specifically complete drainage—is non-negotiable for Solar Bear owners in climates where frost occurs.
For a deeper understanding of why polypropylene behaves differently under freeze stress, see our Fafco Solar Bear Collector Material Review: Polypropylene vs Rubber.
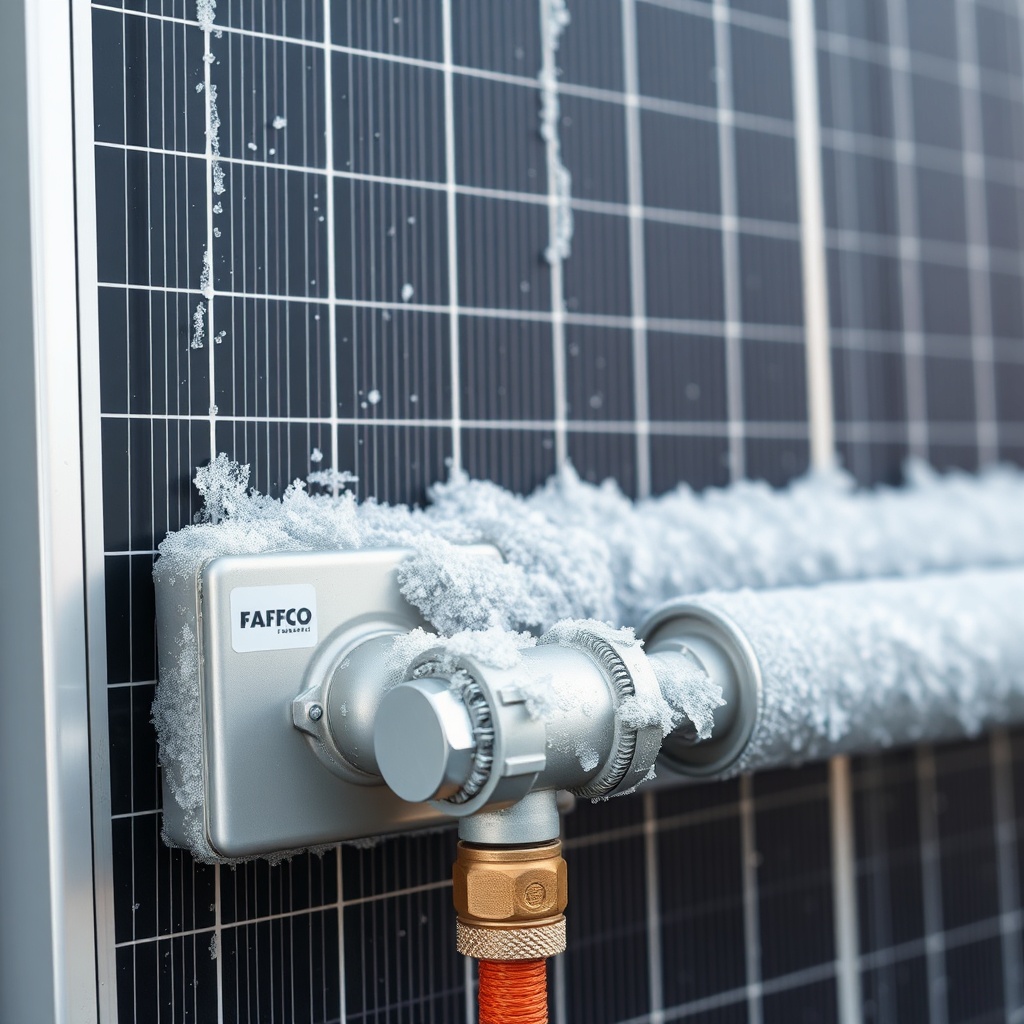
What Are the Steps to Completely Drain a Fafco Solar Bear System?
Draining the Solar Bear requires a systematic approach because its low-pressure design can trap water in low spots. Follow this procedure:
- Shut off the pump and close any isolation valves on the supply and return lines to the solar array.
- Open the air vent or vacuum breaker located at the highest point of the collector loop. On many Solar Bear installations, this is a Schrader valve or manual petcock.
- Remove the drain plug at the lowest collector manifold or install a drain valve at the system’s lowest point. Allow gravity to pull water out.
- Blow out remaining water using a shop-vac or low-pressure air compressor (max 5 PSI) connected to the return line. Run the blower until no mist exits the drain.
- Disconnect collector headers if possible—unscrew the union fittings to let any trapped water escape from individual tubes.
- Prop up panels at a slight angle (5–10 degrees) if they lie flat, to prevent snow or rain from pooling and freezing inside.
Never use antifreeze in a Fafco Solar Bear unless the system is specifically designed for glycol—propylene glycol can degrade polypropylene over time and void the warranty.
Which Components Are Most Vulnerable to Freeze Damage?
Understanding the weak points helps you prioritize protection. The table below rates severity and recommended actions:
| Component | Freeze Risk Severity | Cost of Repair (GBP) | Winterization Action |
|---|---|---|---|
| Polypropylene collector panels | High—tubes crack when ice expands | £400–£1,000 per panel | Full drain + blow out |
| Manifold and header fittings | Medium—O-rings can fail | £80–£200 per fitting | Disconnect and drain |
| Supply/return pipes (above ground) | High if uninsulated | £150–£600 per section | Insulate or remove |
| Pump and filter housing | Medium—cracked volute | £200–£450 | Drain and store indoors |
| Air vent/vacuum breaker | Low—but ice can block | £25–£60 | Remove or leave open |
Focus your efforts on the collector panels and exposed piping, as these account for the highest replacement costs. The Fafco Solar Bear’s polypropylene material, while UV-resistant, lacks the tensile strength of rubber once ice forms inside the tubes—making complete evacuation essential.
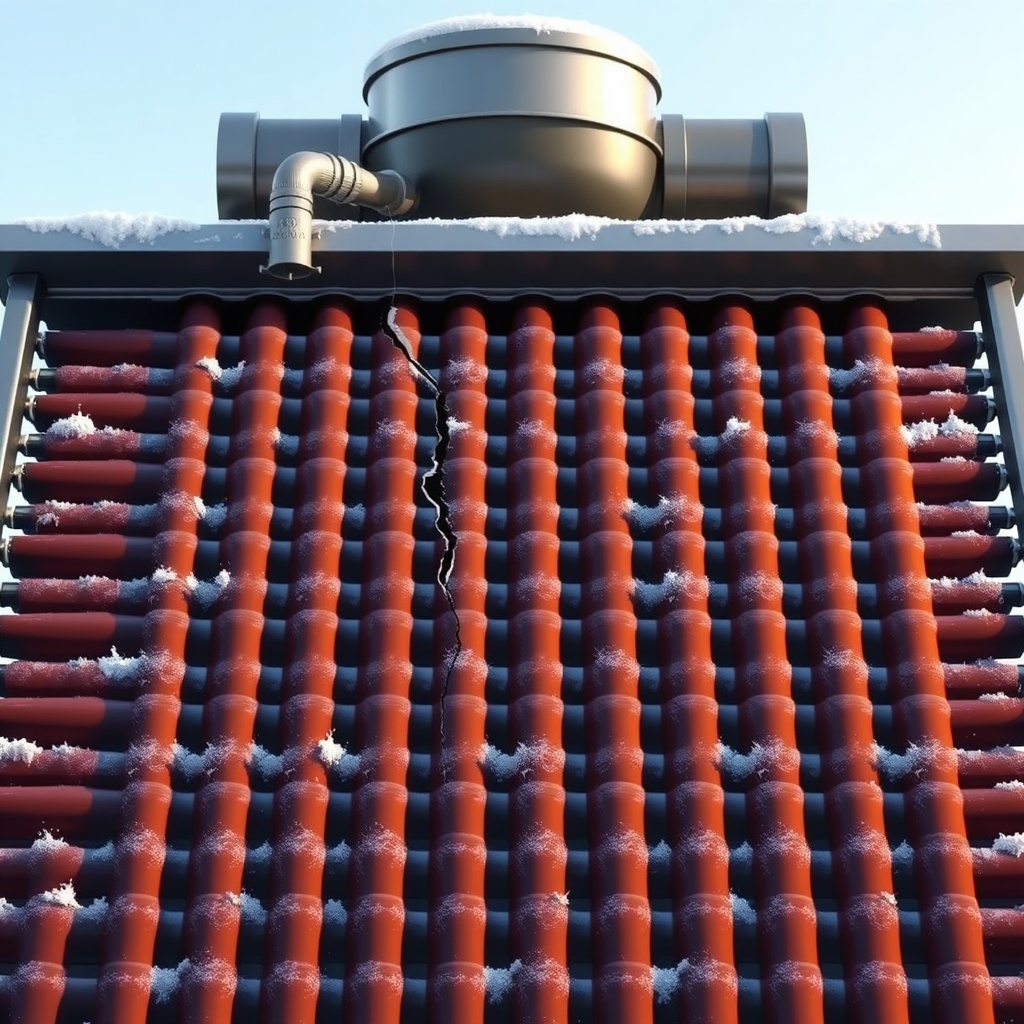
How Do You Protect the Pump and Plumbing During Winter?
The pump and above-ground plumbing are just as critical as the collectors. Begin by disconnecting the pump from the solar loop and storing it in a frost-free location (basement or garage). Run the pump for 10 seconds with the drain plug removed to expel internal water. For the supply and return pipes, if they are not buried below the frost line, unscrew them at the collector and at the equipment pad, then cap or plug the open ends. Alternatively, install freeze-resistant valves that automatically open when temperatures near 0°C. For permanent installations, wrap exposed pipes with closed-cell foam insulation (25 mm minimum) and seal with UV-resistant tape. Never use standard pipe wrap outdoors—it degrades within one season.
If your system uses a heat exchanger, flush it with a 50/50 propylene glycol solution (not ethylene glycol, which is toxic) to protect the internal coil. Check the Fafco Solar Bear Collector Material Review: Polypropylene vs Rubber for compatibility notes on glycol exposure.
What Are Common Winterization Mistakes with the Solar Bear?
Even experienced pool owners make errors that lead to damage. The most frequent include:
- Leaving drain plugs tight—trapped water expands and cracks the manifold.
- Skipping the blow-out step—gravity alone leaves residual water in low spots.
- Using antifreeze without checking compatibility—automotive antifreeze can swell polypropylene seals.
- Forgetting to open all valves—a closed check valve traps water in the collector loop.
- Not securing panel tilt—flat panels collect rain that freezes in the tubes.
- Assuming “freeze protection” mode on the controller works—during power outages or thermostat failure, the pump won’t run.
Avoid these pitfalls by creating a printed winterization checklist specific to your Solar Bear layout. Label isolation valves with bright tags to ensure nothing is missed.
What Owners Say
Long-time Fafco Solar Bear users consistently emphasise drainage precision. “I lost one panel my first winter because I thought gravity draining was enough,” says Mark T. from Derbyshire. “Now I use a compressor and haven’t had a leak in seven years.” Sarah L. from Yorkshire notes: “The polypropylene tubes look tough, but they’re brittle when ice forms. I store my pump indoors and cap the pipes—that’s saved me hundreds.” Several owners on UK pool forums recommend installing a manual drain valve at the system’s lowest point during initial installation, as many factory configurations lack one. Those who live in regions with hard freezes (below -5°C) often install a bypass loop to isolate the solar array entirely. Common consensus: don’t trust automatic systems—physical disconnection and draining are the only reliable methods for the Solar Bear.
For further material-specific experiences, read owner reviews in our Fafco Solar Bear Collector Material Review: Polypropylene vs Rubber.
Frequently Asked Questions
Q: Can I leave water in the Fafco Solar Bear if I live in a mild climate?
A: Even in mild UK winters (1–5°C), frost can form inside panels overnight. Always drain if temperatures drop below 4°C, as polypropylene’s expansion coefficient is low and ice damage can occur quickly.
Q: How long does it take to drain the system?
A: Typically 15–30 minutes for gravity draining, plus 10–15 minutes for blow-out. Total time is about 45 minutes for a standard 4-panel array.
Q: What PSI should I use for blow-out?
A: No more than 5 PSI (0.34 bar). Higher pressure can damage the thin polypropylene tube walls. Use a regulated air source.
Q: Do I need to remove the collectors every winter?
A: Not if you drain completely and tilt them to prevent water pooling. Removing panels is only necessary if you cannot achieve full drainage due to flat roof mounting.
Q: Will polypropylene degrade from winter sun exposure when dry?
A: No—UV stabilisers in Fafco Solar Bear panels prevent degradation. Empty panels can stay outdoors year-round without damage.
Q: Is it worth hiring a professional for winterization?
A: If you’re unsure about valve locations or have a complex multi-collector array, a professional visit costs £80–£150 and includes full blow-out and inspection. This is cheaper than replacing one panel.