Why Does SolarPoolPro Require a Seasonal Maintenance Schedule?
SolarPoolPro systems are built from robust polypropylene and EPDM rubber, but even the best solar pool heating arrays suffer performance loss when sediment, calcium scale, or winter ice go unchecked. A structured maintenance schedule, performed in spring and autumn, preserves collector efficiency, extends panel life by 8–12 years, and prevents costly freeze damage. This guide breaks down the specific seasonal tasks every SolarPoolPro owner should follow, with costs quoted in British pounds (£) for the UK market.
What Are the Critical Pre-Winter Winterization Steps for SolarPoolPro Panels?
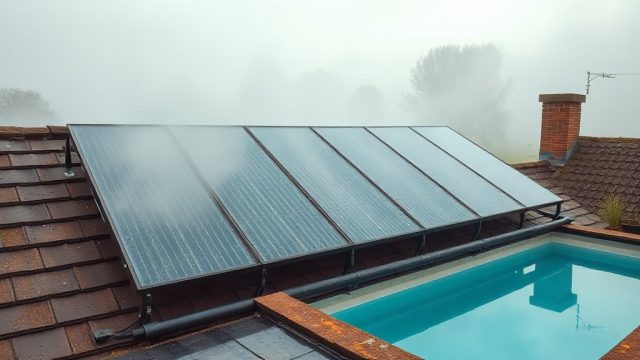
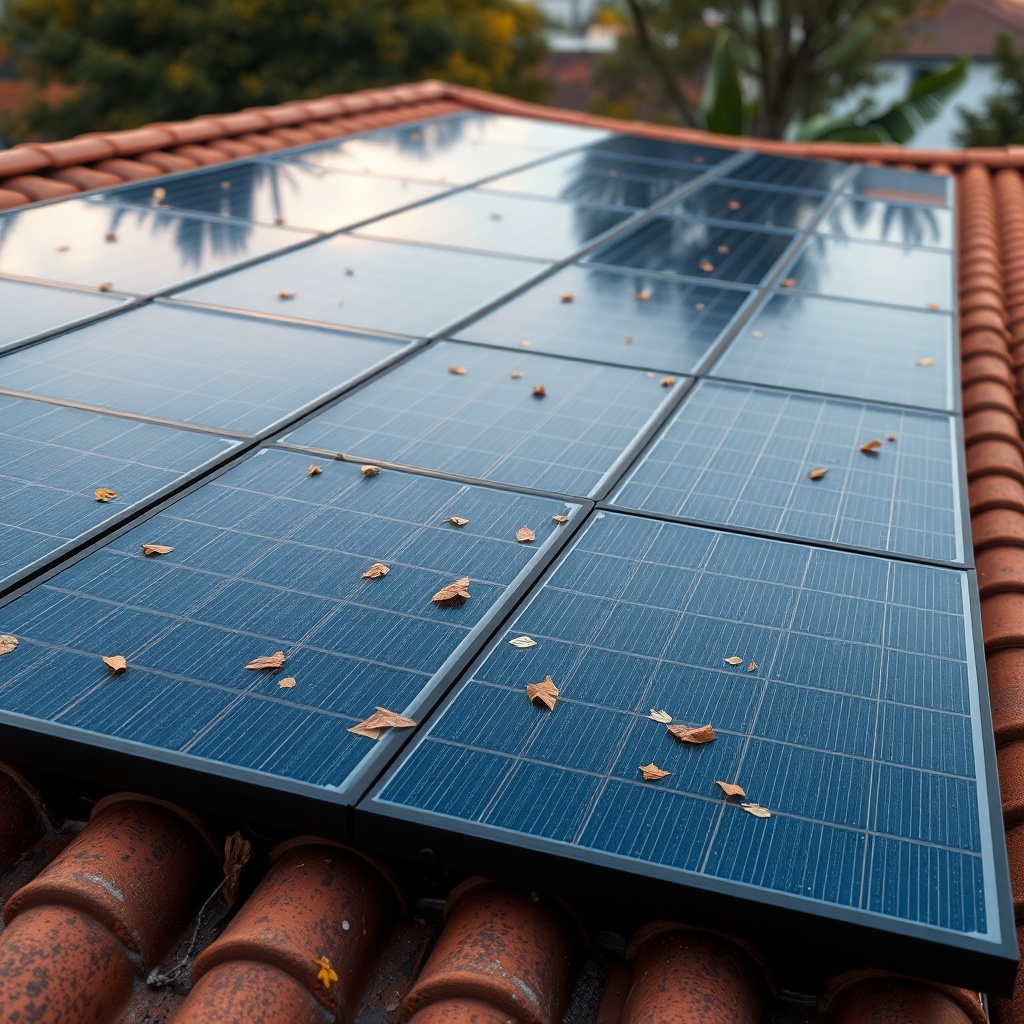
Winterization is the most important maintenance window for any solar pool heating system, especially for unglazed collectors exposed to freezing temperatures. SolarPoolPro panels contain water that expands when frozen, which can crack headers and split absorber tubes. Follow these steps before the first frost:
- Drain the array completely. Use the drain valve at the lowest point of the collector circuit. For roof-mounted arrays, open the vacuum breaker or air vent to allow gravity drainage. Expect 40–80 litres of water per panel depending on size.
- Blow out residual water. Attach a small compressor (2–4 CFM) to the drain port and blow through each collector row until only mist exits. This removes trapped water in the absorber channels.
- Disconnect and store the pump and controller. Remove the SolarPoolPro pump (if external) and store it indoors above 5°C. The controller’s sensor cables can remain connected, but disconnect the mains power and wrap the junction box in a weatherproof bag.
- Cover or disconnect glazing. For glazed collectors, remove or secure any glass covers to prevent snow load and frost cracking. Unglazed panels can be left exposed, but covering with a breathable tarp reduces UV degradation during deep winter.
- Check and grease valves. Apply a silicone-based lubricant to all ball valves and diverter valves. Frozen, stuck valves are the number-one cause of spring start-up leaks.
A full winterization kit (drain plugs, air adapter, valve grease) costs approximately £35–£60 from SolarPoolPro dealers. Skipping this step can lead to panel replacement costs of £400–£800 per panel.
How Often Should I Clean SolarPoolPro Collectors?
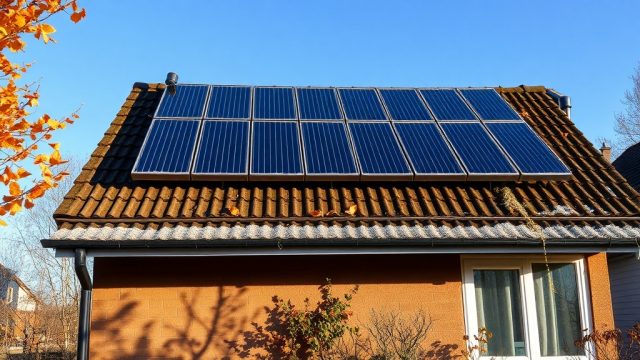
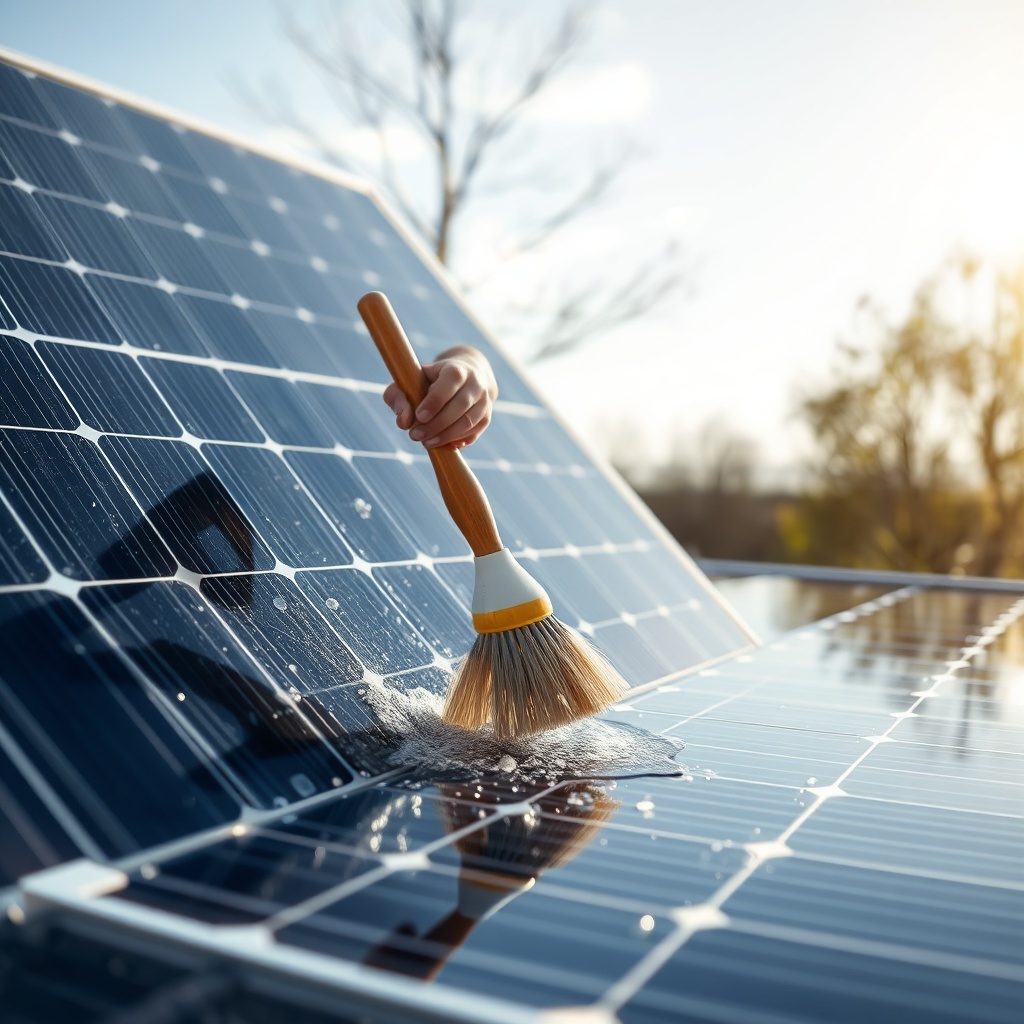
Cleaning frequency depends on your local environment. In the UK, where pollen, bird droppings, and road dust are common, a twice‑yearly clean (late spring and early autumn) is sufficient. For locations near construction sites, farmland, or heavy tree cover, quarterly cleaning may be necessary.
| Contaminant | Effect on Performance | Cleaning Method | Frequency | Cost (£) |
|---|---|---|---|---|
| Pollen / light dust | 5–10% efficiency drop | Hose rinse with water | Bi‑monthly during bloom | 0 (DIY) |
| Bird lime / tree sap | 10–20% efficiency drop | Mild soap + soft brush | Spring + Autumn | 5–10 (soap + brush) |
| Calcium scale (hard water) | 15–30% blocking | White vinegar 1:1 solution, soaks 15 min | Annual | 3–8 (vinegar) |
| Algae / organic growth | Up to 30% shading | Pressure washer (max 60 bar) with fan nozzle | As needed | 15–25 (rental) |
Warning: Never use abrasive brushes, wire wool, or high-pressure washers above 100 bar on SolarPoolPro panel faces. The absorber coating can delaminate.
What Are the Spring Start-Up Checks for SolarPoolPro?
After winter shutdown, a systematic restart prevents pump cavitation, air locks, and sensor failures. Perform these checks in order:
- Visual inspection. Look for cracked headers, popped tube joints, or distorted panel frames. Any panel that shows frost damage should be replaced before starting the pump.
- Reconnect the pump and controller. Reinstall the external pump, reattach all hose clamps, and restore mains power to the controller. Set the controller to “Summer” mode (target temperature 22–26°C).
- Purge air from the system. Open the air vent at the highest point of the array. Start the pump at low speed (if variable-speed). Let water flow for 5 minutes until a steady stream exits the vent, then close it.
- Check flow rate. Verify that the flow meter (if installed) reads at least 10 litres per minute per panel for 1.2m x 3m panels. Lower flow indicates clogging or a partially closed valve.
- Inspect the pressure gauge. Normal operating pressure is 1.0–1.5 bar for a single-storey roof installation. Higher readings suggest debris in the collector or a closed isolation valve.
- Test the freeze protection. Simulate a freeze condition by dipping the sensor in ice water. The controller should trigger the pump at 4°C. If not, replace the sensor (approximately £12–£18).
Annual spring start-up takes 45–60 minutes. A professional SolarPoolPro technician charges around £80–£120 for this service.
How Do I Maintain SolarPoolPro Ground-Mounted Arrays?
Ground-mounted systems present unique maintenance challenges related to standing water, grass growth, and animal intrusion. Align these tasks with your seasonal schedule. For deeper guidance on the mounting structure itself, see our SolarPoolPro Ground Mounting Guide: Concrete Pavers vs Perforated Pipe.
- Keep vegetation clear. Trim grass and weeds around the mounts to at least 60 cm from the panel edges. Tall grass blocks airflow and traps moisture, leading to corrosion of aluminium rails.
- Check concrete paver stability. After heavy rain or frost heave, ensure pavers haven’t shifted. Use a level on the mounting rails. Out-of-level arrays can create air pockets.
- Inspect perforated pipe drains. If your system uses a perforated pipe for panel support (as detailed in the mounting guide), check that drainage holes are clear of mud and debris. Blocked holes cause water pooling under panels, encouraging rot.
- Apply rodent mesh. Install steel mesh around the base of ground-mounted arrays to prevent mice and voles from nesting under panels and chewing on wiring.
- Flush the ground-loop every three years. For buried collector loops, use a submersible pump to circulate a 5% phosphoric acid solution for 30 minutes to dissolve calcium scale. Rinse thoroughly with fresh water.
Ground-mount maintenance adds about £40–£70 per year in materials (primer, weed mat, mesh). This is a worthwhile investment to avoid rail replacement costs of £200–£350.
What Do Owners Say About SolarPoolPro Maintenance?
SolarPoolPro owners consistently praise the ease of winterization once the process is learned. “The first year I was terrified of cracking a panel,” says Mark H. from Sussex. “After following the blow-out method, my five-panel array has gone through three winters without a single issue. The controller’s freeze alarm gives me peace of mind.”
Another common positive is the cleaning process. “I use a garden hose and a soft mop on a telescopic pole. Takes 20 minutes per panel, and I see a 3–4°C improvement on sunny days,” reports Lisa R. from Cornwall.
Negative feedback mainly concerns ground-mount owners with clay soil. “The pavers keep sinking after rain. I wish I’d gone with the perforated pipe option from the Ground Mounting Guide,” says Jim T. from Essex. Another owner notes that the controller’s sensor wire connector corroded after two years. SolarPoolPro now supplies waterproof marine-grade connectors for replacements.
Overall, owners report a system lifespan of 15–20 years when maintenance schedules are followed, with annual maintenance costs averaging £45–£65, excluding pump replacement (every 6–8 years at £120–£180).
How Does SolarPoolPro Fit Into a Smart Home Automation Routine?
Maintenance isn’t just physical—it includes firmware updates and logic calibration. The SolarPoolPro controller can be integrated with home automation systems, as described in our SolarPoolPro Controller Automation: Smart Control Setup and Programming guide. Key maintenance tasks for smart systems:
- Update firmware annually. Check the SolarPoolPro app or web portal for updates. Current version is v2.7.4. Updates fix sensor polling bugs and improve pump scheduling.
- Calibrate temperature sensors. Use a calibrated reference thermometer to verify the pool sensor and collector sensor. Adjust offset values in the controller settings if they differ by more than 0.5°C.
- Review historical data. Most controllers log pump runtime and temperature trends. A sudden drop in collector temperature delta (output minus input) often indicates a dirty panel or failing sensor. Reviewing this data monthly enables early problem detection.
- Test remote access. Verify that the WiFi module or Bluetooth connection is stable. A lost connection during a freeze event could lead to pump failure. Consider a backup, non-cellular alarm.
Smart maintenance adds 30 minutes per year and requires no special tools. The controller itself typically lasts 8–10 years; replacement cost is £150–£220.
What Is the Recommended Maintenance for SolarPoolPro’s Fittings and Unions?
SolarPoolPro’s piping connections rely on unions and adapters that can degrade over time. Regular inspection of these components is essential. For a complete compatibility guide, refer to SolarPoolPro Fitting Compatibility: Unions, Adapters, and Retrofit Kits.
- Inspect O-rings annually. Each union contains an EPDM O-ring. Replace them every 3–4 years, or sooner if cracked, hardened, or leaking. A pack of 20 O-rings costs £8–£12.
- Check for UV degradation. Black nylon unions exposed to direct sunlight become brittle after 5–7 years. If you see surface cracking, replace the union with a UV-stabilised version (grey or white). Cost: £4–£8 per union.
- Retrofit kits. If you’re adding panels to an existing system, use only SolarPoolPro’s retrofit union kit. Generic fittings may not match the thread pitch or sealing face. Our retrofit guide covers specific part numbers.
- Lubricate union threads. Apply a thin coat of silicone grease to the male threads of each union before reconnection. This prevents galling and makes future disassembly easier.
Leaking unions are the most common call-out for repair technicians. Proactive maintenance costs less than £20 every three years and prevents water damage to roofing materials.
Frequently Asked Questions
1. Can I use antifreeze in my SolarPoolPro system?
No. Propylene glycol systems require specially rated panels and seals. SolarPoolPro is designed for water-only operation. Using antifreeze will degrade O-rings and void the warranty.
2. How do I know if a panel is damaged after winter?
Look for bulging headers, cracks along the absorber plate, or water stains on the roof. A pressure test (compare flow before and after the panel) is diagnostic. Any panel with less than 60% of original flow should be replaced.
3. What is the best time of year to clean the panels?
Clean in mid-April (before peak sun) and mid-October (before winter shutdown). Avoid cleaning during midsummer when panels may be hot; thermal shock can crack the polypropylene.
4. Do I need a professional for winterization?
Most owners can DIY the drain-and-blow method. However, if your array is installed on a steep roof (greater than 45°) or requires disassembly of multiple rows, hire a professional. Expect £100–£150 for a complete winterization service.
5. How does my pool size affect the SolarPoolPro maintenance schedule?
Larger pools (over 50,000 litres) often require multiple collector rows. More rows increase the chance of air locks and flow imbalance. You may need to flush each row individually during start-up. Our sizing guide includes maintenance modifications for large systems.
6. What is the payback period for SolarPoolPro maintenance costs?
Annual maintenance of £45–£65 preserves system efficiency at 85–95%. Without maintenance, efficiency drops to 50–70% within three years. Assuming a solar heating saving of £300–£500 per year on gas bills, consistent maintenance gives a break-even on maintenance within one season. See our ROI analysis for full payback calculations.