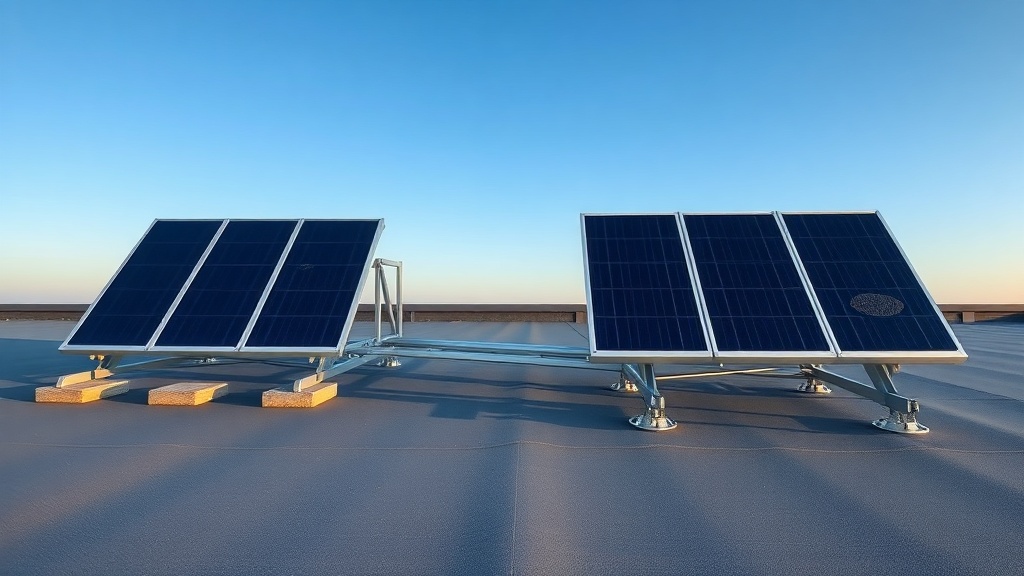
Understanding the Heliocol HC-65 Flat Roof Mounting Challenge
Installing a Heliocol HC-65 solar pool heating system on a flat roof demands careful consideration of mounting methods to ensure long-term performance and structural integrity. The two primary approaches—ballast-based and through-bolt mounting—each carry distinct advantages and trade-offs that directly impact installation cost, roof warranty, and system longevity. This guide breaks down the critical factors to help you choose the right method for your specific flat roof scenario, whether you’re working with a concrete deck, modified bitumen, or a TPO membrane.
Before committing to a mounting strategy, it’s essential to understand your roof’s load-bearing capacity and local building codes. The Heliocol HC-65 panels themselves weigh approximately 18 kg each when dry, but a fully water-filled system adds roughly 25 kg per panel. Ballast systems can increase that by another 15-20 kg per panel, so consulting a structural engineer is not optional—it’s a prerequisite. For a deeper dive into system planning, see our Heliocol HC-65 vs HC-50: Comparison Guide for Solar Pool Heating for sizing considerations.
What Is Ballast Mounting for the Heliocol HC-65?
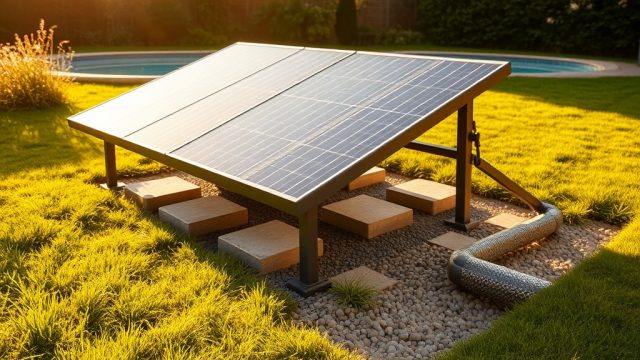
Ballast mounting uses concrete blocks or engineered paver systems to hold the Heliocol HC-65 array in place without penetrating the roof membrane. This non-invasive method relies on gravity and friction to resist wind uplift and lateral movement. For flat roofs with low slope (typically less than 2:12), ballast systems are a common choice because they avoid drilling holes that could compromise the waterproofing layer.
Typical ballast requirements for the HC-65 vary by wind zone: in a 160 km/h exposure, expect around 40-45 kg of ballast per panel, distributed across the support rails. This often means using 16-inch by 16-inch concrete pavers weighing 20 kg each, placed strategically at the panel corners and midpoints. The total dead load on the roof can reach 90-100 kg per panel including the panel itself, so verifying roof capacity is mandatory. One advantage is that ballast systems can be installed and removed without roof repair, making them ideal for leased rooftops or temporary setups.
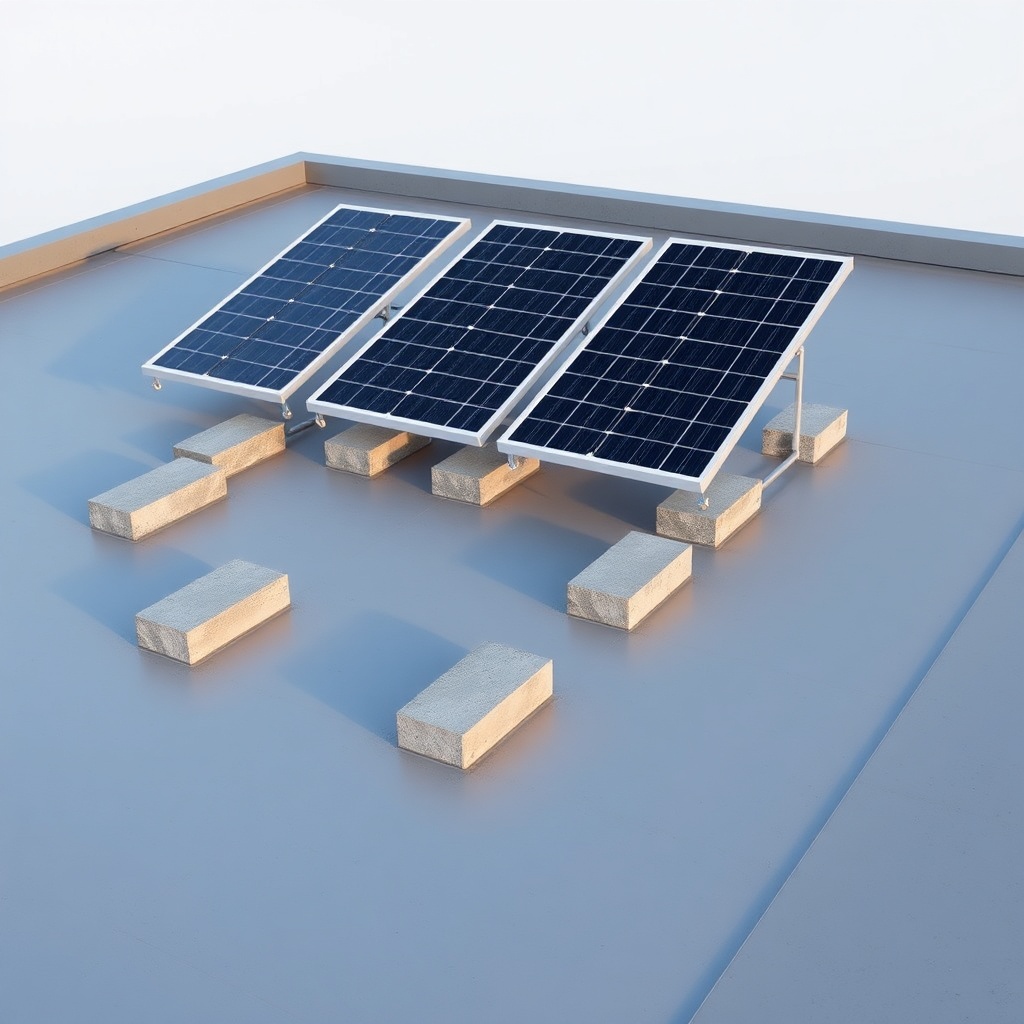
However, ballast mounting is not foolproof. Over time, settling or shifting can occur, especially if the roof surface is not level or if heavy rainfall creates drainage issues. Regular inspections (every six months) are recommended to ensure no panels have moved. Additionally, ballast can trap debris and moisture against the roof membrane, potentially accelerating wear. For larger arrays (more than 10 panels), the cumulative weight may require structural reinforcement—a cost that often surprises homeowners.
How Does Through-Bolt Mounting Work for the HC-65?
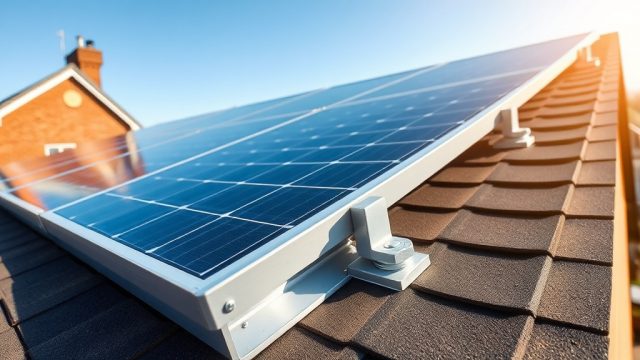
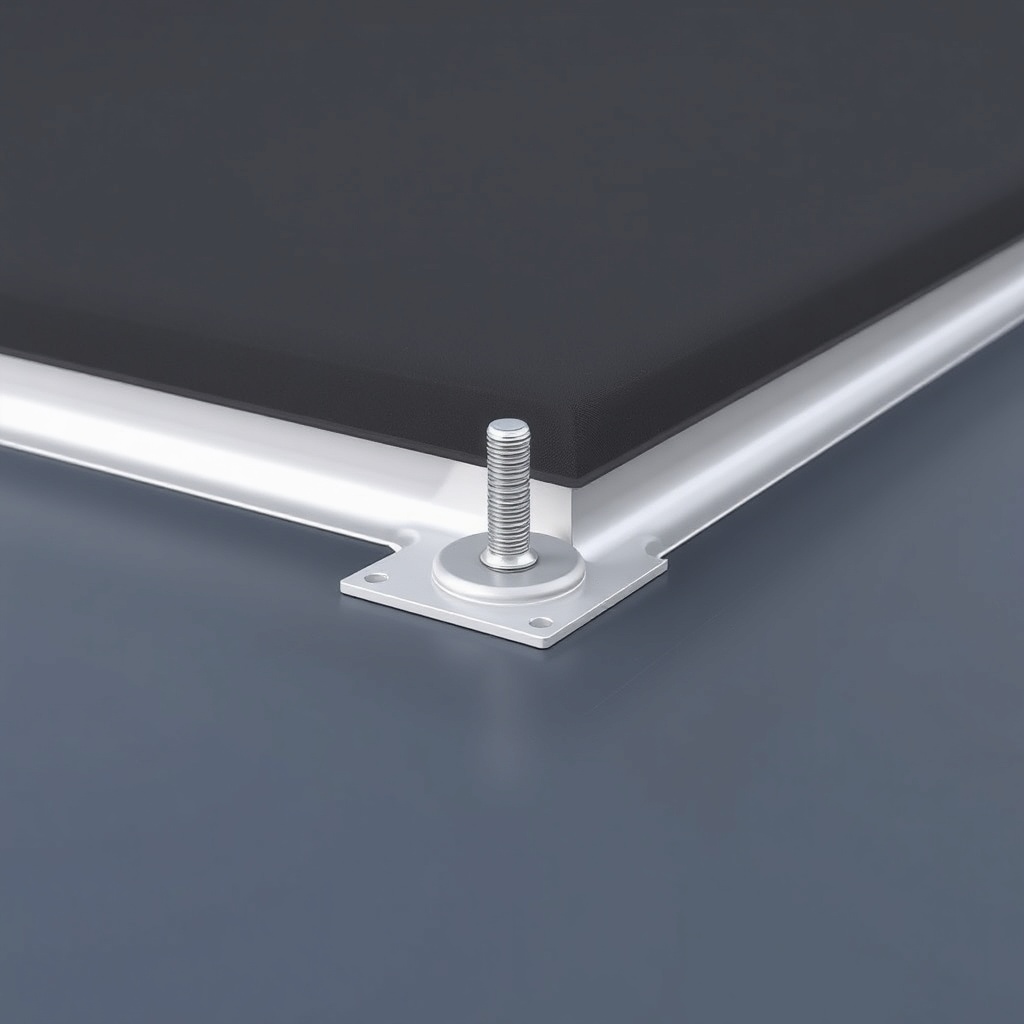
Through-bolt mounting (also called mechanical attachment) involves securing the Heliocol HC-65 support rails directly to the roof structure using stainless steel bolts, expansion anchors, or wedge anchors. This method penetrates the roof membrane and insulation, so proper flashing and sealing are critical. The primary advantage is positive mechanical connection: each panel is fastened securely to the deck, eliminating concerns about wind uplift or shifting.
For concrete roof decks, a common approach uses 1/2-inch diameter stainless steel wedge anchors drilled 2 inches into the concrete, with a peel-and-stick membrane patch and a neoprene gasket to seal the penetration. On steel decks, self-tapping screws with EPDM washers are standard. The typical spacing is one anchor per rail segment (every 1.2 meters), resulting in 4-6 anchors per HC-65 panel. This method adds no significant dead load beyond the panel weight, which is a major benefit for roofs with limited capacity.
While through-bolt mounting offers superior wind resistance—tested to 200 km/h in many systems—it does create potential leak paths if not installed meticulously. The cost of flashings and labor is higher, typically adding £150-£250 per panel (or AUD $280-$450 depending on local rates) compared to ballast. The trade-off is peace of mind in high-wind areas and a cleaner aesthetic with no visible ballast blocks. For automated control integration, check Heliocol HC-65 Controller Automation: Smart Control Setup and Programming to pair with your mounting.
Ballast vs Through-Bolt: Which Is Cheaper Over the Long Term?
Upfront costs for ballast mounting are generally lower, but the total cost of ownership can shift depending on factors like roof repairs, maintenance, and system lifespan. Let’s break down typical costs for a 6-panel Heliocol HC-65 array (approximately 18 m² of collector area). Note: all figures are indicative and vary by region and installer.
| Cost Category | Ballast Mounting | Through-Bolt Mounting |
|---|---|---|
| Materials (rails, clamps, anchors) | £220 – £280 | £300 – £400 |
| Concrete pavers (18 blocks) | £90 – £130 | £0 |
| Flashing/sealant supplies | £0 | £140 – £200 |
| Labor (4 hours) | £280 – £360 | £400 – £520 |
| Structural engineer consultation | £150 – £250 | £0 (if roof ok per code) |
| Estimated 10-year maintenance | £80 (re-leveling) | £60 (seal checks) |
| Total Estimated Cost (6 panels) | £820 – £1,100 | £900 – £1,180 |
| Roof leak risk repair cost | Low (£0-150) | Moderate (£200-500 if leak) |
As the table shows, through-bolt mounting is only marginally more expensive upfront but may cost more if a leak occurs. However, ballast systems may require structural reinforcement if your roof wasn’t designed for the extra load—this can add £500-£1,000. Also, consider that through-bolt systems often qualify for longer wind warranties (15 years vs 10 for ballast from some manufacturers). For pump compatibility details, see Heliocol HC-65 Minimum Flow Rate and Pump Sizing Guide to ensure your system runs efficiently regardless of mounting.
What Are the Wind Load Differences Between Ballast and Through-Bolt?
Wind uplift is the primary force acting against solar collectors on flat roofs. According to engineering standards (ASCE 7-16 in the US, EN 1991-1-4 in Europe), the Heliocol HC-65 array must resist both suction (negative pressure on the top) and drag forces. Through-bolt mounting excels here because each anchor provides a direct tensile connection to the structure. In testing, mechanically attached HC-65 systems have withstood wind speeds exceeding 200 km/h without failure.
Ballast systems rely on friction and weight—they are not “attached” in the traditional sense. For a typical flat roof with 1.5:12 slope, ballast requirements increase linearly with wind speed. At 160 km/h, you need about 45 kg per panel; at 200 km/h, that jumps to 70 kg per panel. That much ballast can exceed roof load limits, especially on lightweight steel decks. Moreover, ballast systems are more vulnerable to edge effects: panels within 1 meter of the roof edge experience higher uplift and may require additional weight or wind deflectors.
For coastal or open-exposure sites, through-bolt mounting is strongly recommended. In suburban residential areas with moderate wind (up to 150 km/h), ballast works fine if properly engineered. One often overlooked factor is that ballast can shift during severe storms, creating gaps that reduce performance. Through-bolt mounts stay put, but they require annual seal inspections to ensure no water has found a path through the flashing. For best results, combine through-bolt with a smart controller—learn how in our Heliocol HC-65 Controller Automation guide.
How Do Roof Composition and Age Affect the Choice?
The material and condition of your flat roof are decisive factors. For concrete roofs (common on commercial buildings), both methods work well, but through-bolt anchoring requires proper drilling and dust control to avoid concrete spalling. For modified bitumen roofs, ballast is often preferred because repeated penetrations can weaken the membrane over time. However, if the bitumen is more than 10 years old, ballast weight may cause cracking—in such cases, through-bolt with reinforced patches is safer.
TPO and PVC single-ply membranes are tricky with ballast: the pavers can abrade the membrane, especially if dust gets trapped underneath. Many TPO manufacturers void warranties if ballast is placed directly on the membrane without a geotextile protection layer. Through-bolt on TPO is acceptable only with manufacturer-approved boots and heat-welded flashing collars. For green roofs or roofs with a gravel ballast surface, through-bolt is often the only viable option because the existing ballast would shift under the solar mounts.
Age matters too. A roof older than 15 years may not support the additional load or the penetrations. In such cases, consider replacing the roof before installing the Heliocol HC-65—or choose a ballast system that can be lifted when re-roofing becomes necessary. Some installers offer “solar-ready” membrane patches that simplify future re-roofing. Always get a roof inspection before committing to a mounting method. For performance optimization, pair your installation with the right pump size via Heliocol HC-65 Minimum Flow Rate and Pump Sizing Guide.
What Do Owners Say About Their Heliocol HC-65 Mounting Experience?
Feedback from Heliocol HC-65 owners reveals clear satisfaction with both mounting methods when installed correctly, but also some learning points. Many homeowners with ballast systems appreciate the non-invasive nature: “No holes, no leaks—that was the selling point,” said one owner from Brisbane, Australia. However, several noted the need for occasional adjustments after heavy rain or wind storms. “We had one panel shift about 3 cm after a 180 km/h gust. It was easy to push back, but it happened more than once,” another reported.
Through-bolt owners frequently cite peace of mind: “I sleep better knowing those panels aren’t going anywhere, even in a hurricane,” said a Florida owner. But a few experienced minor leaks around flashings if installation was rushed. One recommended: “Pay extra for a certified installer—the sealant work is unforgiving.” Overall, ballast is favoured for rental properties or temporary installations, while through-bolt is preferred for permanent homes in windy zones. Most owners agreed that professional installation is worth the cost regardless of method, as DIY mistakes can be costly.
Frequently Asked Questions About Heliocol HC-65 Flat Roof Mounting
1. Can I mix ballast and through-bolt mounting on the same roof?
Yes, but it’s not recommended. Mixing methods creates uneven load distribution and complicates wind calculations. If you must, separate the zones with a clear physical barrier (e.g., a parapet wall) to ensure each section meets its own structural criteria. Consult an engineer before proceeding.
2. How long does it take to install a Heliocol HC-65 array with ballast vs through-bolt?
A ballast system for a 6-panel array takes about 4-5 hours for two experienced installers. Through-bolt mounting takes 6-8 hours due to drilling, flashing, and sealant curing times. Add 1-2 hours for roof preparation and safety setup.
3. Will ballast mounting affect my roof’s warranty?
It can. Many roof membrane manufacturers specify that ballast must not exceed a certain weight per square meter (often 50 kg/m²) and must be placed on a protective mat. Check your roof warranty terms—some become void if ballast is added without prior approval. Through-bolt systems typically require separate flashings that are sometimes covered under a separate warranty.
4. What is the maximum wind speed recommended for ballast-mounted Heliocol HC-65?
For standard ballast configurations (45 kg/panel), the system is rated for up to 160 km/h. Beyond that, through-bolt mounting is required. Some high-ballast designs (70 kg/panel) can handle 200 km/h, but roof load limits may prevent this.
5. How do I know if my flat roof can support ballast weight?
Your roof’s dead load capacity is typically listed in building documents. Most residential flat roofs are designed for 75-100 kg/m² live load plus dead load. A typical ballasted HC-65 array adds 90-100 kg per panel, which is about 30-35 kg/m². A structural engineer can confirm if your specific roof meets safety factors (typically 1.5).
6. Can I convert a ballast system to through-bolt later?
Yes, but it’s involved. The ballast must be removed, the roof membrane repaired, and new anchors installed. Cost is similar to a fresh through-bolt installation (minus the panels). If you anticipate moving or reconfiguring, ballast is the better starting point. For permanent setups, through-bolt from day one is more economical.