SolarPoolPro Ground Mounting Guide: Concrete Pavers vs Perforated Pipe
When installing a SolarPoolPro solar pool heating system on the ground, the choice between concrete pavers and perforated pipe as the mounting base can significantly impact long-term stability, cost, and maintenance. This guide breaks down the two methods, offering a detailed comparison to help UK pool owners and installers make an informed decision for their specific site conditions.
What Are the Core Differences Between Concrete Pavers and Perforated Pipe Ground Mounts?
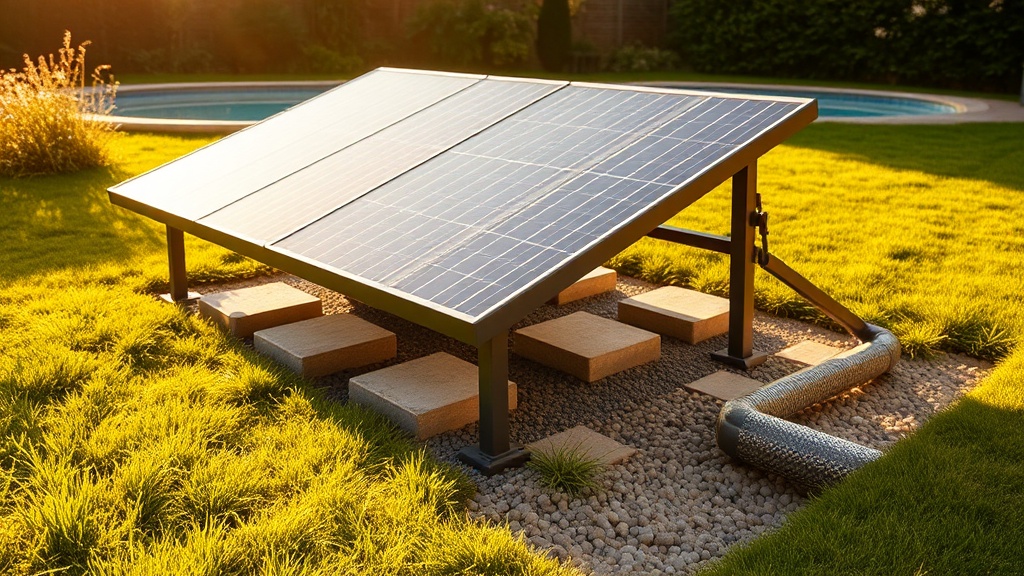
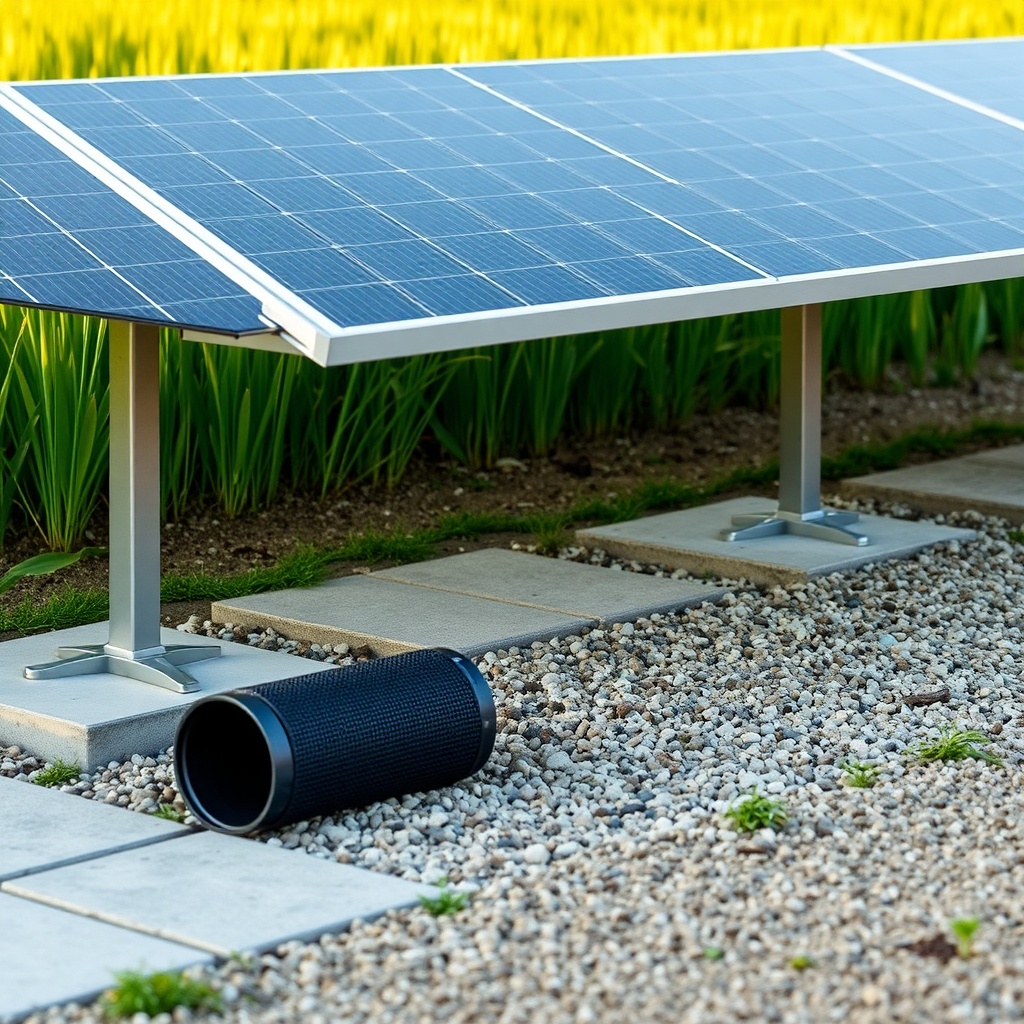
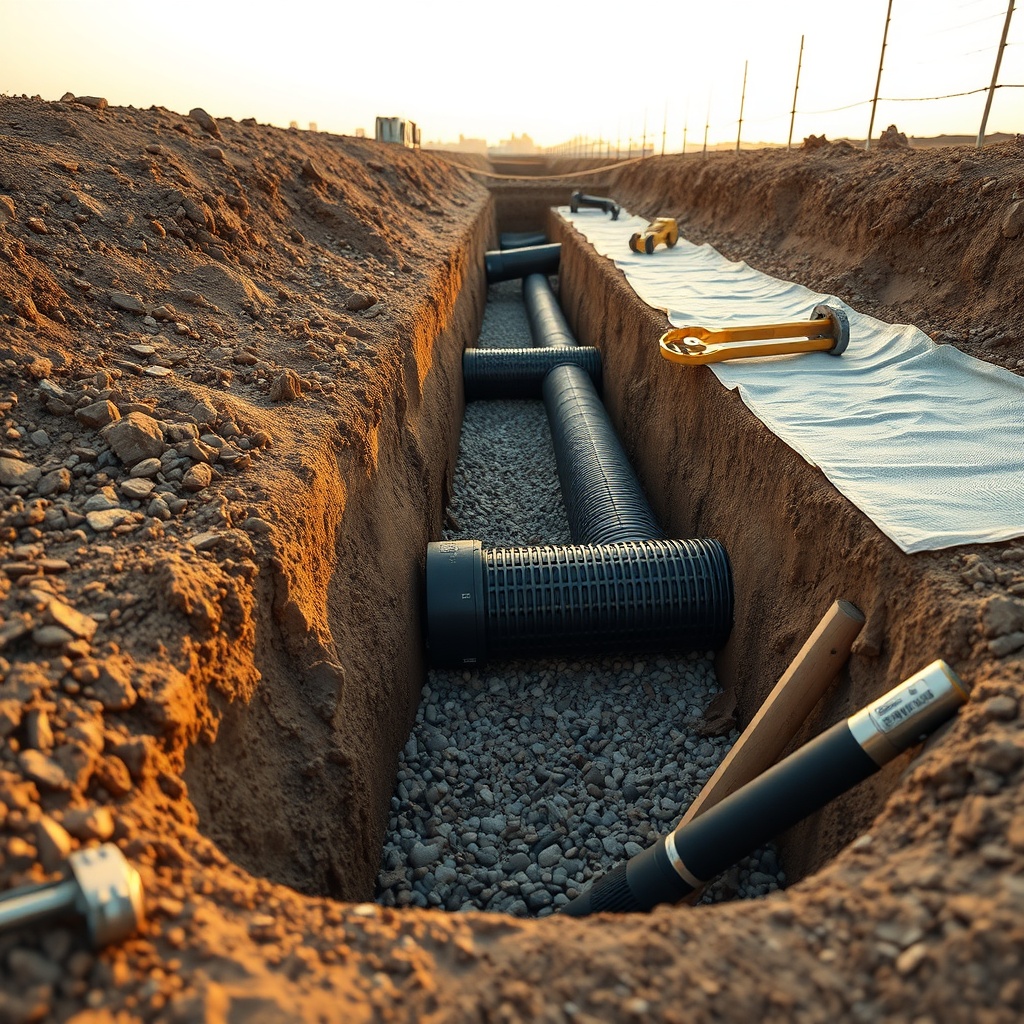
Concrete pavers are typically 450x450x50mm precast slabs, often laid on a compacted gravel or sand base to provide a solid, level footing for the SolarPoolPro collector frame. Perforated pipe, usually 110mm heavy-duty ABS or PVC with slots or holes, is buried in a shallow trench to create a drainage-enhanced support system. The pavers offer immediate rigidity and prevent panel sagging over soft ground, while the perforated pipe method excels in areas with high groundwater or poor drainage, as it allows water to dissipate naturally below the panels.
In terms of load bearing, concrete pavers can handle 500-800 kg per square metre under the frame legs, whereas perforated pipe, when properly bedded in aggregate, distributes weight more evenly but requires deeper excavation and more precise backfilling. For most domestic pools up to 50 m² panel area, concrete pavers are the simpler, quicker choice; for larger commercial installations or boggy sites, perforated pipe often proves more cost-effective over a decade.
How Do Installation Costs Compare Between the Two Methods?
Installation costs vary by region and ground conditions, but a typical UK installation of a 30 m² SolarPoolPro system on concrete pavers runs between £750 and £1,200 for the base materials (pavers, gravel, and membrane) and labour. The perforated pipe method is more labour-intensive, often costing £1,100 to £1,800 due to trenching, pipe runs, and geotextile fabric requirements. However, for sites with heavy clay soil where pavers can shift after freezing, the perforated pipe’s self-draining nature can reduce cracking and re-levelling expenses over a 10-year period by up to 40%.
Below is a detailed cost comparison for a standard 30 m² ground-mount array:
| Component | Concrete Pavers (Cost £) | Perforated Pipe (Cost £) |
|---|---|---|
| Base excavation & compaction | 180 | 320 |
| Gravel/stone (20mm) 2 tonnes | 120 | 200 |
| Concrete pavers – 24 x 450x450mm | 240 | 0 |
| Perforated pipe 110mm x 30m + fittings | 0 | 380 |
| Geotextile fabric (100 m²) | 60 | 100 |
| Labour (8 hours vs 12 hours) | 400 | 600 |
| Total approximate cost | £1,000 | £1,600 |
These figures assume DIY-friendly ground with no rock removal. For rented equipment or professional installation, add 20-30%.
What Are the Stability and Longevity Considerations for Each Mount?
Concrete pavers provide immediate, rigid support that resists wind uplift, especially when combined with tie-downs. In exposed Scottish or coastal regions, pavers can be interlocked with plastic pedestals to prevent lateral movement. However, on expansive clay soils, pavers can tilt over time due to freeze-thaw cycles, requiring annual levelling—a minor but recurrent task.
Perforated pipe mounts, once backfilled with compacted Type 1 aggregate, offer excellent resistance to ground heave because the pipe’s flexibility accommodates minor soil movements. The drainage holes prevent water pooling under the panels, reducing the risk of frost damage. A well-installed perforated pipe system often exceeds 15 years without needing adjustment, compared to a 5-7 year re-levelling cycle for pavers on reactive soils.
For a detailed look at how ground mounting interacts with panel durability, see our SolarPoolPro vs Heliocol HC-65: Installation Complexity and DIY-Friendliness Comparison.
How Does Drainage Affect the Choice Between Pavers and Perforated Pipe?
Drainage is the single most important factor when choosing a ground mount method. Concrete pavers are impermeable; rainwater runs off the surface, often creating a wet area around the panel array that can cause grass dieback or muddy patches. Over time, standing water near the frame legs can accelerate corrosion on steel brackets if not galvanised and sealed.
Perforated pipe systems actively manage water by allowing rainfall and condensation to drain into the underlying gravel layer, then laterally through the pipe. This is particularly beneficial in humid climates where the panels themselves produce condensate—a topic explored in our SolarPoolPro Condensation Management in Humid Climates guide. On a 30 m² array, the drainage capacity of perforated pipe can handle up to 20 litres per minute during heavy rain, preventing any surface pooling.
If your soil test shows a percolation rate slower than 15 minutes per 25mm, perforated pipe is strongly recommended to avoid hydrostatic pressure pushing up pavers over time.
What Are the DIY Installation Steps for Each Method?
Concrete Pavers Installation Steps
- Mark out the panel area using string lines; excavate 150mm down for gravel base.
- Compact subsoil with a vibrating plate; lay 75mm of 20mm clean gravel, compact again.
- Place concrete pavers on the gravel at each frame leg location; use a 1m level to ensure all pavers are in the same plane within 5mm tolerance.
- Position the SolarPoolPro frame on the pavers; anchor with 200mm stainless steel ground screws through pre-drilled holes in the frame foot.
- Install panels per manufacturer spec; connect tubing and test for leaks before backfilling.
Perforated Pipe Installation Steps
- Dig trenches 300mm deep and 300mm wide along the length of each panel row; create a slight gradient (1:100) toward one end for drainage.
- Lay geotextile fabric in the trench; add 100mm of 20mm washed gravel, then place the perforated pipe with slots facing down.
- Backfill with gravel to 50mm below ground level, folding the geotextile fabric over the top to prevent soil ingress.
- Install tubular steel supports (typically 40mm x 40mm galvanised posts) concreted into the ends of the pipe runs as anchor points.
- Mount the frame to the posts using brackets and self-tapping screws; follow the same panel installation process.
For further help on common installation pitfalls, read our SolarPoolPro Troubleshooting: Common Issues and DIY Fixes article, which covers alignment and connection issues frequently seen with ground mounts.
What Do Owners Say About Their Ground Mount Choices?
Feedback from UK SolarPoolPro owners and installers reveals practical experiences. David from Cornwall reports: “I used concrete pavers on sandy soil—no issues in three years, but I do have to mow around them every two weeks. The panels stayed perfectly level.” Sarah in Kent, who chose perforated pipe on heavy clay, says: “After a wet winter, the pavers on my neighbour’s system shifted 30mm, but my perforated pipe mount didn’t budge. The extra upfront cost was worth the peace of mind.”
Several installers note that perforated pipe is gaining popularity for new builds where the garden can be graded simultaneously. However, for retrofit ground mounts on existing lawns where minimal disruption is desired, concrete pavers are the clear winner, as they can be completed in a single weekend without heavy machinery. For a comparison of how these mounts affect overall system efficiency, see our analysis in SolarPoolPro vs Fafco Solar Bear vs Heliocol HC-65: Energy Efficiency Comparison.
Frequently Asked Questions
Q1: Can I mix concrete pavers and perforated pipe in the same installation?
A1: Yes, it is sometimes done—pavers under the main collector frame legs for rigidity, and a perforated pipe drainage field near the panels to manage runoff. However, ensure the pavers are still on a stable, drained base to avoid differential settlement.
Q2: How deep must the perforated pipe be buried?
A2: Minimum 200mm below ground surface, with 100mm gravel cover on top. In frost-prone areas (e.g., Scotland), go to 400mm depth to avoid pipe displacement during freeze-thaw cycles.
Q3: Are concrete pavers suitable for all soil types?
A3: They work best on free-draining sandy or loamy soils. On clay or silt, use a thicker gravel base (200mm) and add drainage channels around the site. Always test percolation first.
Q4: Will I need planning permission for a ground-mount SolarPoolPro system?
A4: In most UK cases, ground-mounted solar panels under 2.5m high do not require permission, but check local council rules—especially if in a conservation area or listed building. The drainage aspect (perforated pipe) may trigger SUDS requirements.
Q5: How do I prevent weeds and grass growing through the mount?
A5: For either method, lay heavy-duty landscaping fabric under the entire array area before installing the base. Overlap seams by 150mm and secure with ground staples. This blocks weeds while allowing water passage.
Q6: What is the long-term maintenance for these mounts?
A6: Pavers may need annual re-levelling if ground shifts; check for organic growth between pavers. Perforated pipe requires occasional inspection of drainage outlets—clear any blockages (leaves, soil) annually. A full guide is in our SolarPoolPro Troubleshooting: Low Output on Overcast Days and DIY Solutions document.