SolarPoolPro vs Heliocol HC-65: Installation Complexity and DIY-Friendliness Comparison
Choosing between SolarPoolPro and Heliocol HC-65 panels often comes down to how much work you’re willing to do yourself. SolarPoolPro is engineered for the ambitious DIYer, while Heliocol HC-65 typically requires professional expertise. This comparison breaks down installation complexity, DIY-friendliness, and hidden costs that affect your bottom line in GBP.
What Makes SolarPoolPro More DIY-Friendly Than Heliocol HC-65?
The core difference lies in the connector system. SolarPoolPro uses a proprietary push-fit union that requires no glue or specialised crimping tool—just a standard screwdriver and a bit of elbow grease. Each panel comes pre-assembled with brass inserts and EPDM O-rings, so you’re essentially snapping pieces together. In contrast, Heliocol HC-65 requires a solvent-weld process for the header pipes and a specific torque wrench for the stainless steel clamps. A single misalignment can cause leaks that are nearly impossible to fix without cutting and re-gluing.
Installation time for a typical 4-panel UK pool system (approximately 4m x 8m) averages 6–8 hours for a competent DIYer with SolarPoolPro. Heliocol HC-65 takes 12–16 hours even for experienced installers, and that’s assuming you have the correct drill bits for the concrete roof anchors. SolarPoolPro’s flexible rubber feet also adapt better to tile or slate roofs without needing extra flashing kits—something Heliocol’s rigid mounting brackets often require.
If you’re considering a retrofit, check our guide on SolarPoolPro Fitting Compatibility: Unions, Adapters, and Retrofit Kits for details on adapting to existing pipework.
How Do the Roof Attachment Methods Compare in Terms of Difficulty?
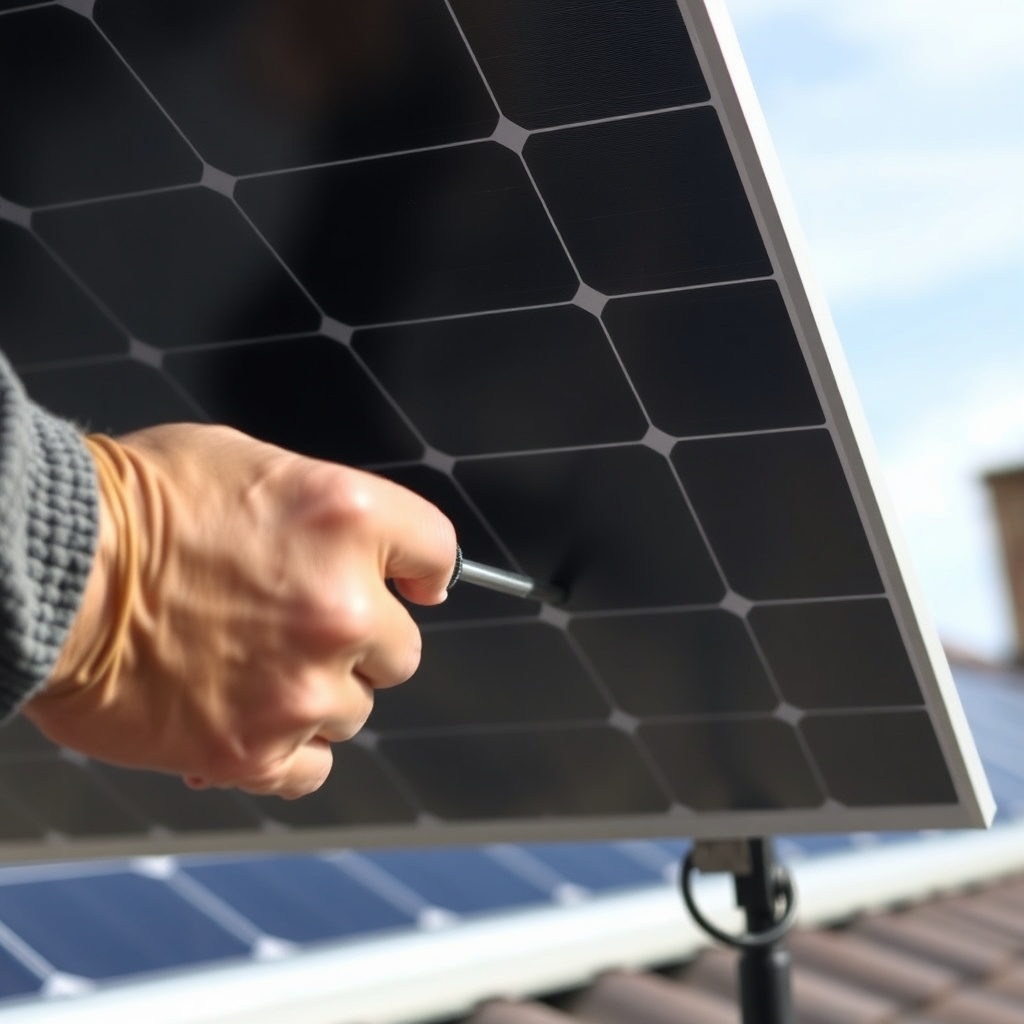
SolarPoolPro mounts use a universal foot that attaches to the roof with stainless steel screws and a neoprene gasket—no drilling into the panel itself. You mark your roof rafters, pre-drill pilot holes, and screw the foot down. The panel then clips onto the foot with a captive nut, meaning you don’t have to hold the panel while tightening. Heliocol HC-65 requires you to mount a track system using expansion anchors—often into concrete or metal decking—then slide the panels into place and secure them with C-clamps. This track system demands precise alignment; a 2mm error can cause panels to bind or create pinch points that stress the manifold.
For sloped roofs, SolarPoolPro offers a tilt kit that adjusts from 15° to 45°, which is trivial to install. Heliocol’s tilt kit involves welding or bolting additional steel angles, and you must ensure the load is distributed across multiple rafters. The UK building regulations for wind uplift (Part A) are easier to satisfy with SolarPoolPro’s low-profile design, which sits just 10cm above the roof surface versus 25cm for Heliocol. This also means fewer penetrations—SolarPoolPro uses 4 screws per panel versus Heliocol’s 8 bolts.
Sizing your system correctly is critical, so review SolarPoolPro Pool Size and Climate Match: Sizing for Optimal Heating before starting roof work.
What Hand Tools and Skills Are Required for Each Brand?
SolarPoolPro’s tool list is short: a cordless drill, a 10mm socket, a spirit level, and a marker. The only special tool is a tube cutter for the PVC headers—but any standard hacksaw works if you’re careful. No electrical work is needed unless you’re wiring a pump timer. Heliocol HC-65 demands a PVC primer and solvent glue, a torque wrench (set to 25 Nm), a hole saw for the manifold connections, a rubber mallet, and a pipe reamer to remove burrs. You also need a climbing harness if working on a steep pitch, because Heliocol’s slippery ABS surface offers little traction.
Here’s a direct tool comparison table:
| Item | SolarPoolPro | Heliocol HC-65 |
|---|---|---|
| Connector type | Push-fit union (no glue) | Solvent-weld or compression fittings |
| Mounting hardware | Pre-drilled stainless steel brackets | Aluminium tracks + expansion anchors |
| Required skill level | Intermediate (home DIY) | Advanced (trade installer) |
| Estimated DIY time (4 panels) | 6–8 hours | 12–16 hours |
| Special tools needed | Tube cutter, drill, screwdriver | Torque wrench, solvent glue, hole saw, pipe reamer |
| Roof penetration count | 4 per panel | 8 per panel |
| Warranty | 20 years (manufacturer) | 12 years (parts only) |
| Typical system cost (4 panels) | £1,200–£1,600 | £2,400–£3,200 |
The table highlights that SolarPoolPro not only saves money on the system but also on call-out fees—a local plumber charges £75–£120 per hour, and Heliocol’s longer install can add £900–£1,400 to the total. Since SolarPoolPro can be installed by two people in a day, you avoid that cost entirely.
How Do Pump and Flow Requirements Affect Installation Complexity?
SolarPoolPro panels have a lower pressure drop per square metre—about 0.3 psi at 15 litres per minute per panel—meaning they work with most single-speed pool pumps without needing a bypass valve adjustment. Heliocol HC-65’s narrower internal channels create more resistance, often requiring a larger pump or a dedicated circulation loop. During installation, you may need to replumb your equipment pad, which is a job for a professional unless you’re comfortable cutting copper pipe.
SolarPoolPro’s design also tolerates flow rates from 8 to 30 litres per minute per panel, giving you flexibility if your pump is oversized or undersized. Heliocol demands a minimum of 15 L/min per panel and can experience “starving” if the pump isn’t exactly matched. This means you’ll likely need to install a throttling valve or a variable-speed pump—both add cost and complexity. For specific pump sizing advice, read SolarPoolPro Minimum Flow Rate and Pump Sizing Guide.
A quick note on plumbing: SolarPoolPro’s manifold connectors are 50mm IPEX-type, which are common in UK DIY stores. Heliocol uses 40mm metric compression fittings that are less common, so you may need to order adapters online and wait 3–5 days.
What About Drainage and Freeze Protection—Do They Differ in Maintenance?
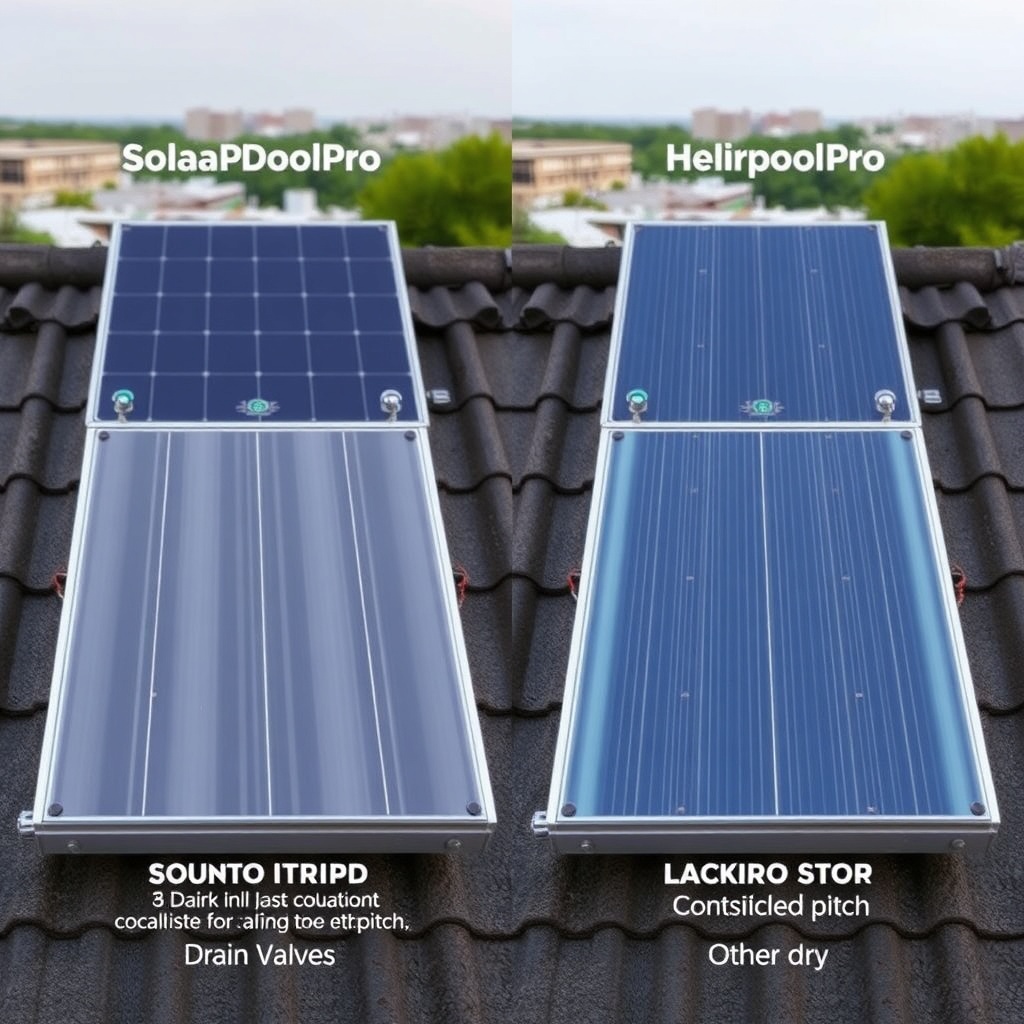
SolarPoolPro panels drain completely by gravity when the pump stops, thanks to a slight downward pitch and broad internal channels. You simply open a drain valve at the lowest point, and water exits within seconds. Heliocol HC-65 has narrower channels that can trap water, especially if the roof pitch is less than 5°. Many owners report needing to blow out the panels with compressed air in autumn to avoid freeze damage—a two-person task that takes about 30 minutes. In contrast, SolarPoolPro’s winterization takes 5 minutes: close the isolation valves, open the drain, and tilt the panels slightly. For a full step-by-step, refer to SolarPoolPro Winterization: Draining and Freeze Protection Guide.
In humid UK climates, condensation inside the panels is another factor. SolarPoolPro’s glazing is vented at the bottom edge to allow moisture to escape, while Heliocol’s sealed glazing can trap condensation, leading to algae growth or streaking. This requires occasional cleaning with a mild acid wash—something you won’t need with SolarPoolPro if you manage humidity. See SolarPoolPro Condensation Management in Humid Climates for tips on keeping panels clear.
What Owners Say
Long-term owners on UK-based pool forums consistently highlight two themes. First, SolarPoolPro’s DIY simplicity is praised: “I installed four panels in a Saturday with my brother—we’re both accountants, not builders,” writes one owner from Oxfordshire. Another says, “I tried to install Heliocol and gave up after three weekends. Sold the kit and bought SolarPoolPro.” The second theme is aftercare. SolarPoolPro’s UK support team answers phone calls within minutes and ships replacement parts within 48 hours. Heliocol’s online knowledge base is helpful, but you have to navigate a distributor network if you need a warranty claim—which can take weeks.
On the flip side, owners with perfectly flat concrete roofs find Heliocol’s track system more secure for long-term wind loads. But for the vast majority of UK homes (sloped tiles or slate), SolarPoolPro wins on ease. One owner in Cornwall reported zero maintenance for three years after a DIY install. For seasonal maintenance checklists, see SolarPoolPro Maintenance Schedule Guide: Seasonal Tasks for Optimal Performance.
Frequently Asked Questions
Can I install SolarPoolPro panels myself on a tiled roof without professional help?
Yes, if you’re comfortable working on a roof. SolarPoolPro’s push-fit connectors and pre-assembled brackets require only basic tools. You must follow safety guidelines—use a harness and work with a partner. The average DIYer completes a 4-panel system in a single weekend.
How much does a DIY SolarPoolPro installation save compared to hiring a professional?
A professional install for a 4-panel system typically costs £600–£1,200 in labour. DIY saves that entire amount. You also save on future call-outs because you understand the system yourself. Typical total system cost (panels + hardware) ranges from £1,200 to £1,600.
Is Heliocol HC-65 ever easier to install than SolarPoolPro?
Only in very specific cases: if your roof is perfectly flat concrete or metal decking, and you already own the required tools and experience. For sloped roofs, SolarPoolPro is significantly simpler. Heliocol also requires at least two experienced people for lifting due to heavier panels (20kg vs 14kg per panel).
Do I need planning permission for either system in the UK?
In most cases, neither brand requires planning permission if the panels are flush with the roof and don’t protrude more than 200mm. However, listed buildings or conservation areas may still require consent. SolarPoolPro’s lower profile (10cm) is less likely to trigger restrictions than Heliocol’s 25cm tilt.
How long do the seals last on SolarPoolPro versus Heliocol HC-65?
SolarPoolPro’s EPDM O-rings are rated for 20 years and are field-replaceable without removing panels. Heliocol uses captive O-rings in the compression fittings that are harder to access—replacing them often involves cutting and re-gluing. In both cases, UV degradation is minimal if panels are properly vented.
Can I mix SolarPoolPro panels with an existing Heliocol system?
It’s not recommended due to different flow dynamics and connector sizes. You would need a custom plumbing bridge and pressure-balancing valve, which erodes the cost savings. It’s better to standardise on one brand. If you’re adding capacity, consider a complete SolarPoolPro setup for simplicity.