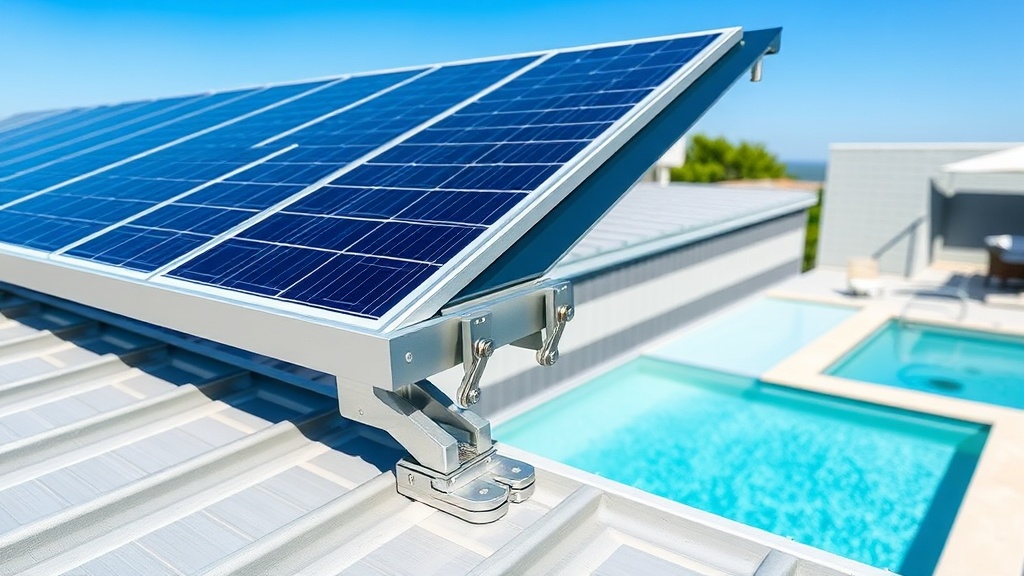
Why Roof Type Dictates Mounting Hardware for the Heliocol HC-50
Mounting a Heliocol HC-50 solar collector on a standing seam metal roof presents unique opportunities and constraints. Unlike tile or asphalt shingle roofs, standing seam metal offers a robust, weathertight surface, but it demands specific attachment methods to avoid compromising the panel’s integrity. This guide explores the best practices for securing the HC-50 to standing seam metal roofs, focusing on clamp-based versus screw-down attachments, load distribution, and long-term seal integrity.
Proper mounting is not merely about keeping panels in place; it directly influences collector efficiency, warranty validity, and roof longevity. For a broader overview of Heliocol HC-50 installation, refer to the Heliocol HC-50 Flat Roof Mounting Guide: Ballast vs Through-Bolt for alternative roof types.
What Are the Two Main Attachment Methods for Standing Seam Roofs?
Installers typically choose between two attachment families for the Heliocol HC-50 on standing seam metal roofs: seam clamps and bracket-based penetrations. The choice depends on roof seam profile, panel orientation, and local wind loads.
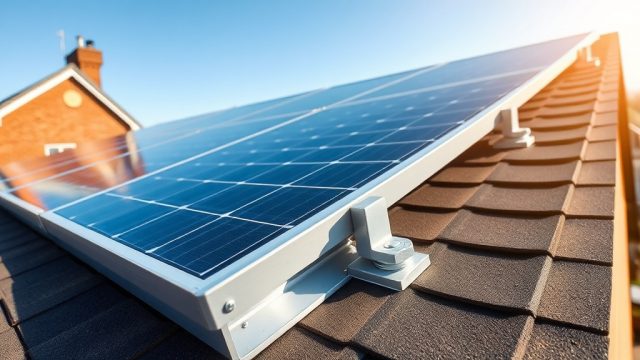
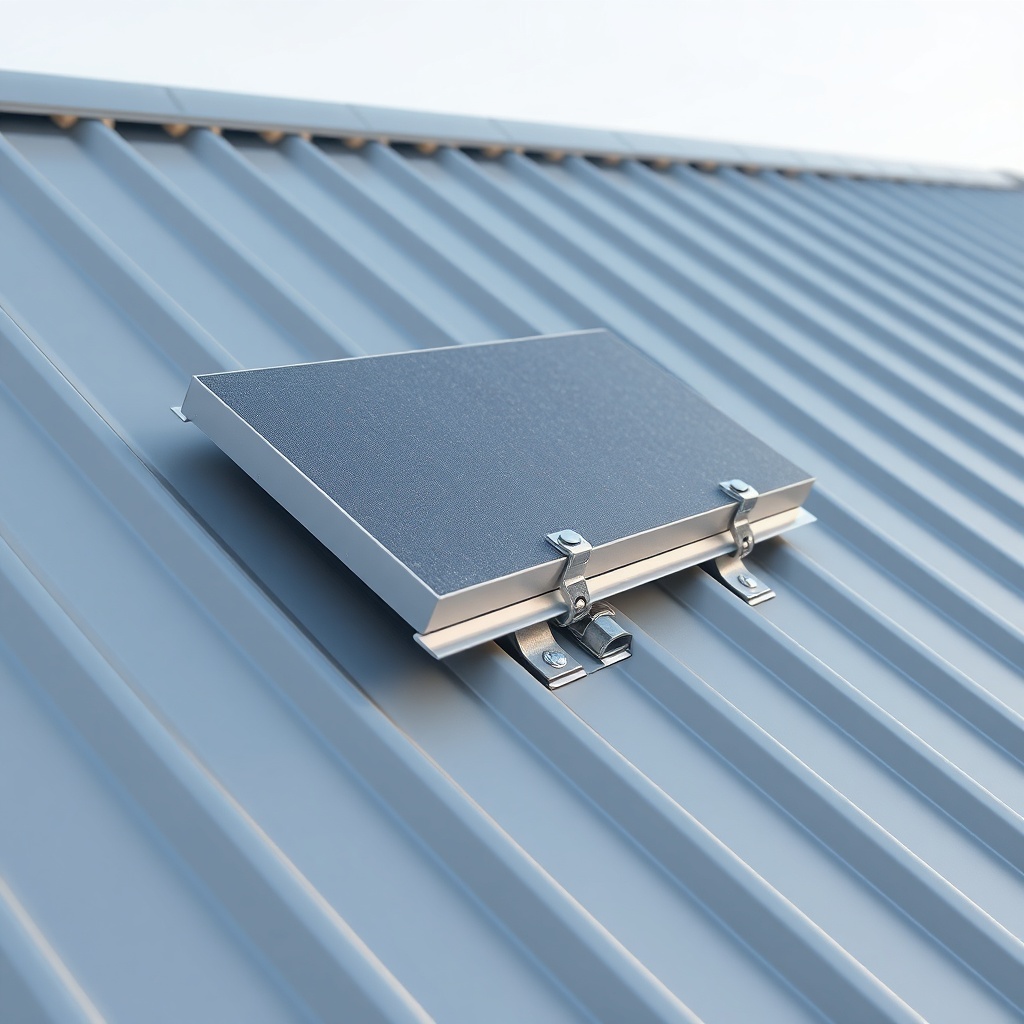
- Seam Clamps: These clamp directly onto the raised metal seam without penetrating the roof membrane. They are preferred for standing seam roofs because they preserve the roof’s waterproof integrity. Clamps are available in various sizes to match common seam profiles (e.g., 1-inch, 1.5-inch, 2-inch standing seams). They attach to the collector’s aluminum mounting rails using stainless steel bolts.
- Bracket-Based Penetrations (Screws): Used when seam clamps cannot achieve a secure fit—for instance, with tapered or low-profile seams. This method requires drilling into the metal deck and sealing with a weatherproof boot or butyl tape. While more invasive, it provides a direct mechanical connection in challenging seam geometries.
For most residential installations with standard standing seam roofs, seam clamps are the recommended approach. They achieve the required structural loads for Heliocol HC-50 Snow Load Considerations for Pitched Roof Mounting without risking roof leaks.
Table: Mounting Method Comparison for Heliocol HC-50 on Standing Seam Metal Roofs
| Method | Installation Time per Panel | Roof Penetrations | Wind Resistance (Up to 120 mph) | Sealant Required | Typical Cost per Panel (AU$) |
|---|---|---|---|---|---|
| Seam Clamps (S-5! type) | 15 minutes | None | Excellent | No | AU$ 45–60 |
| Bracket + Screws | 30 minutes | Yes (1 per bracket) | Good | Yes (butyl tape + silicone) | AU$ 30–45 |
| Custom Fabricated Rail | 45 minutes | None (if welded) | Excellent | No | AU$ 80–120 |
Seam clamps consistently offer the best balance of speed, safety, and waterproofing, though the upfront hardware cost is slightly higher.
How to Select the Correct Seam Clamp for Your Heliocol HC-50?
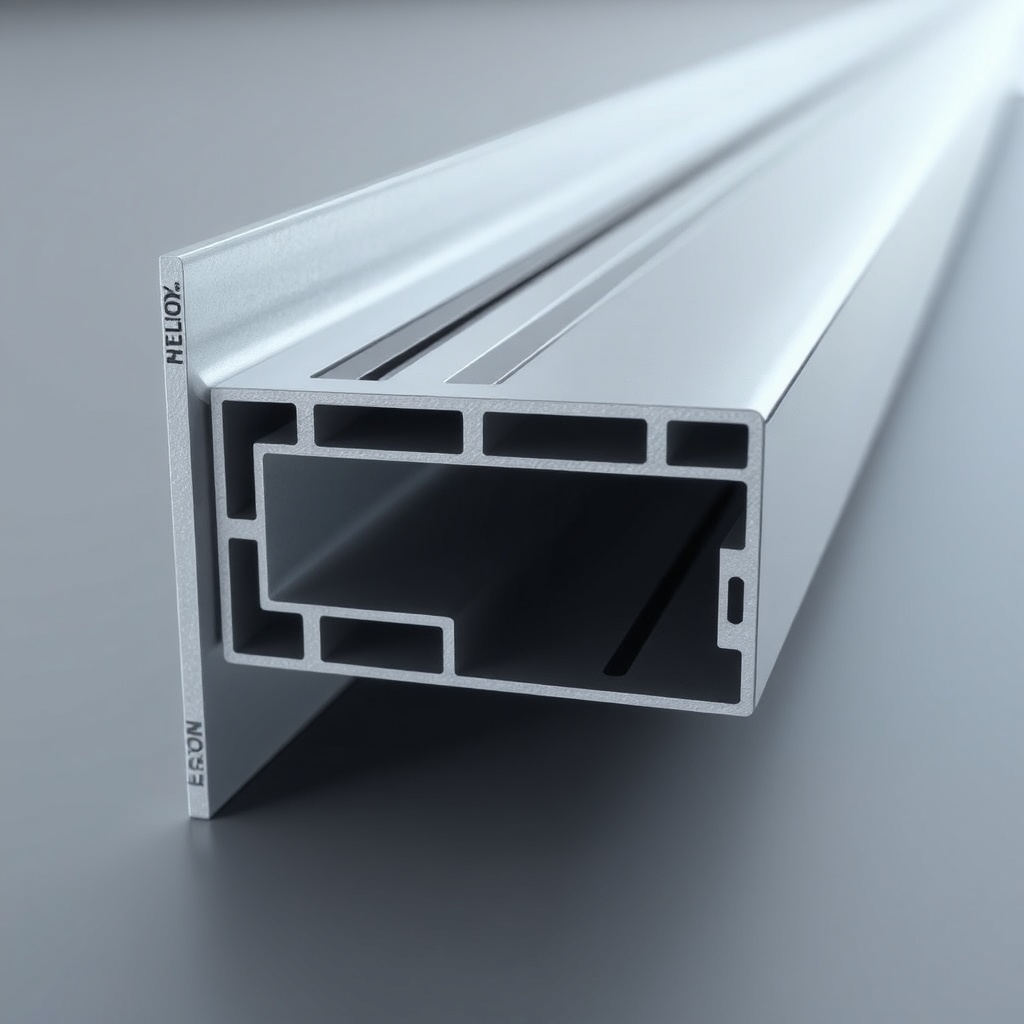
The Heliocol HC-50 uses extruded aluminum mounting rails with pre-drilled slots. To attach seam clamps, you need clamps that mate securely with your roof’s seam profile. Measure the seam height, width, and the space between seams (panel width). Use clamps rated for at least 300 lb (136 kg) working load per clamp, and verify compatibility with the HC-50’s 1.5-inch rail slot width.
Key Specifications to Verify
- Seam height: 25 mm (1″) or 38 mm (1.5″) are common.
- Clamp material: 304 or 316 stainless steel for coastal areas.
- Bolt size: M8 or 5/16″ stainless steel, grade 18-8 minimum.
- Torque rating: Tighten to manufacturer spec (typically 15–20 N·m or 11–15 ft·lb).
Consult the Heliocol HC-50 Minimum Flow Rate and Pump Sizing Guide for flow considerations linked to panel tilt and orientation.
What Are the Best Practices for Rail Alignment and Spacing?
Heliocol HC-50 panels should be mounted with their long axis parallel to the roof ridge for optimum water drainage and wind shedding. Rails must run perpendicular to the panel ribs. Install at least two rails per collector (four for larger arrays). Spacing between rails should not exceed 1.2 meters (4 feet) center-to-center to prevent panel sag under load.
Essential Alignment Steps
- Chalk lines on the roof to mark rail positions, ensuring all panels are coplanar.
- Pre-assemble rails with end caps and splice plates (if required) before lifting to the roof.
- Use a spirit level to check rail level both across and along the slope—minor slope variations are acceptable (roof pitch should be between 15°–60°).
- Secure each rail to the standing seam using two clamps per seam intersection—one on each side of the rail for load distribution.
In high-wind zones, add a third clamp on the longest rails. For snow load specifics, see the Heliocol HC-50 Snow Load Considerations for Pitched Roof Mounting guide.
How to Manage Thermal Expansion in the Mounting System?
The aluminum Heliocol HC-50 panel and mounting rails expand and contract significantly with temperature—up to 2.5 mm per meter over a 50°C temperature swing. Standing seam metal roofs also expand, but their movement can cause stress on rigid attachments if not accounted for.
Best Practices
- Leave a 10–15 mm gap between panel ends when joining multiple panels in a row.
- Use slotted holes on one side of each rail to allow for longitudinal movement.
- Avoid over-tightening clamps—follow torque specs exactly.
- Install expansion joints on runs longer than 12 meters (40 feet).
These steps ensure the HC-50 system remains free of binding and stress fractures, especially in climates with wide diurnal temperature swings.
What Are the Critical Steps for Sealing and Roof Protection?
Even with non-penetrating seam clamps, you must protect the metal roof finish. Clamps can scratch or deform the paint coating on folded seams, leading to corrosion over time.
Protective Measures
- Install rubber or EPDM gaskets between the clamp and the roof seam. These pads prevent metal-on-metal contact and suppress noise from thermal movement.
- Use a silicone-based lubricant on the gasket before tightening to reduce stress on the seam.
- Inspect the roof coating before installation; touch up any scratches with a matching roof paint.
- For bracket-based attachments, apply a generous bead of butyl sealant under the bracket flange and a secondary seal around the screw head.
Correct sealing will protect your roof warranty and prevent leaks that could damage the roof deck or interior.
How to Plan for a Winterization-Ready Mounting System?
When mounting the Heliocol HC-50 on a standing seam roof in a freeze-prone region, design for drainage and freeze protection. The mounting system should allow the panels to drain completely when the system is not circulating.
Mounting for Cold Climates
- Tilt the panels at least 10° to allow water to run off naturally. Avoid horizontal mounting even on flat seams.
- Ensure the lowest point of the collector header is at least 50 mm above any roof valleys or gutters to prevent ice buildup around the connections.
- Use thermal breaks on mounting rails to reduce conductive heat loss from the panel to the roof.
- Coordinate with the Heliocol HC-50 Winterization: Draining and Freeze Protection Guide to verify proper slope for draining.
Failure to account for drainage can lead to freeze damage to the collector’s internal manifolds during winter.
What Owners Say About Heliocol HC-50 on Metal Roofs
Feedback from installation professionals and homeowners highlights the importance of proper clamp selection. “I had a client with a steeply pitched 30-year-old standing seam roof. The S-5! clamps worked perfectly for the HC-50 panels—no roof penetrations, and system outputs are consistent,” says Brian T., a solar contractor in Queensland. Another owner in Melbourne notes, “We spent extra on stainless steel clamps. After three winters, no leaks and no corrosion near the seams.”
Common praise includes the system’s near-invisible appearance from the ground and the reduction in roof temperatures during summer. A few users caution against using generic clamps not rated for the HC-50’s rail profile, as they can slip under thermal cycling. Most agree that professional installation is worth the investment for peace of mind, especially when factoring in Heliocol HC-50 Controller Automation: Smart Control Setup and Programming for optimal performance.
Frequently Asked Questions
1. Can I use suction cup mounts for the Heliocol HC-50 on a standing seam roof?
No. Suction cup mounts are not structural and cannot withstand wind uplift forces. Use only mechanical clamps or brackets rated for solar thermal collectors.
2. Do seam clamps void my roof warranty?
Generally, no. Reputable clamp manufacturers such as S-5! are approved by major metal roof producers (e.g., BlueScope, Colorbond) for non-penetrating attachments. Always check your roof warranty terms.
3. How many clamps do I need per Heliocol HC-50 panel?
For a standard 1.2 m x 2.4 m panel, use four clamps—two on each end rail. For larger arrays, increase clamps proportionally; each clamp should support no more than 1.5 m² of collector area.
4. Can I mount the HC-50 horizontally on a standing seam roof?
Horizontal mounting is possible but not recommended because it impedes water drainage and can collect debris. If unavoidable, use a minimum 5° slope and install drain holes at the low end.
5. What is the maximum wind speed the mounting system can handle?
With properly specified seam clamps (e.g., rated to 180 mph), the HC-50 installation can withstand 160 mph winds. For coastal cyclone zones, add a secondary restraint cable. Refer to Heliocol HC-50 Pool Size and Climate Match: Sizing for Optimal Heating for region-specific load requirements.
6. Do I need a structural engineer for standing seam mounting?
In most localities, a licensed installer can proceed without an engineer if following manufacturer guidelines. However, for roofs with unusual pitches (over 60°) or high snow loads (over 2.4 kPa), an engineer’s stamp is recommended to ensure clamp attachment strength.