
Why is Your Heliocol HC-65 Vacu-Relief Valve Leaking or Stuck?
Heliocol HC-65 solar collectors rely on vacu-relief valves (VRVs) to prevent panel collapse during pump shutdown or drainage. These small but critical brass or ABS plastic components are often overlooked until a sudden leak or constant air intake signals trouble. Drone-like whistling, water spraying from the valve cap, or a persistent gurgling noise are telltale signs the VRV needs attention.
Without a functioning vacu-relief valve, the HC-65’s absorber tubes can implode under negative pressure—especially on long roof runs or in systems with high static head. This guide covers step-by-step diagnosis, repair, and replacement for both the standard brass VRV and newer all-plastic versions installed on Heliocol HC-65 arrays since 2020. We’ll also cover the specific torque specs and thread sealant requirements that prevent future failures.
How Do I Diagnose a Faulty Vacu-Relief Valve on an HC-65 Panel?
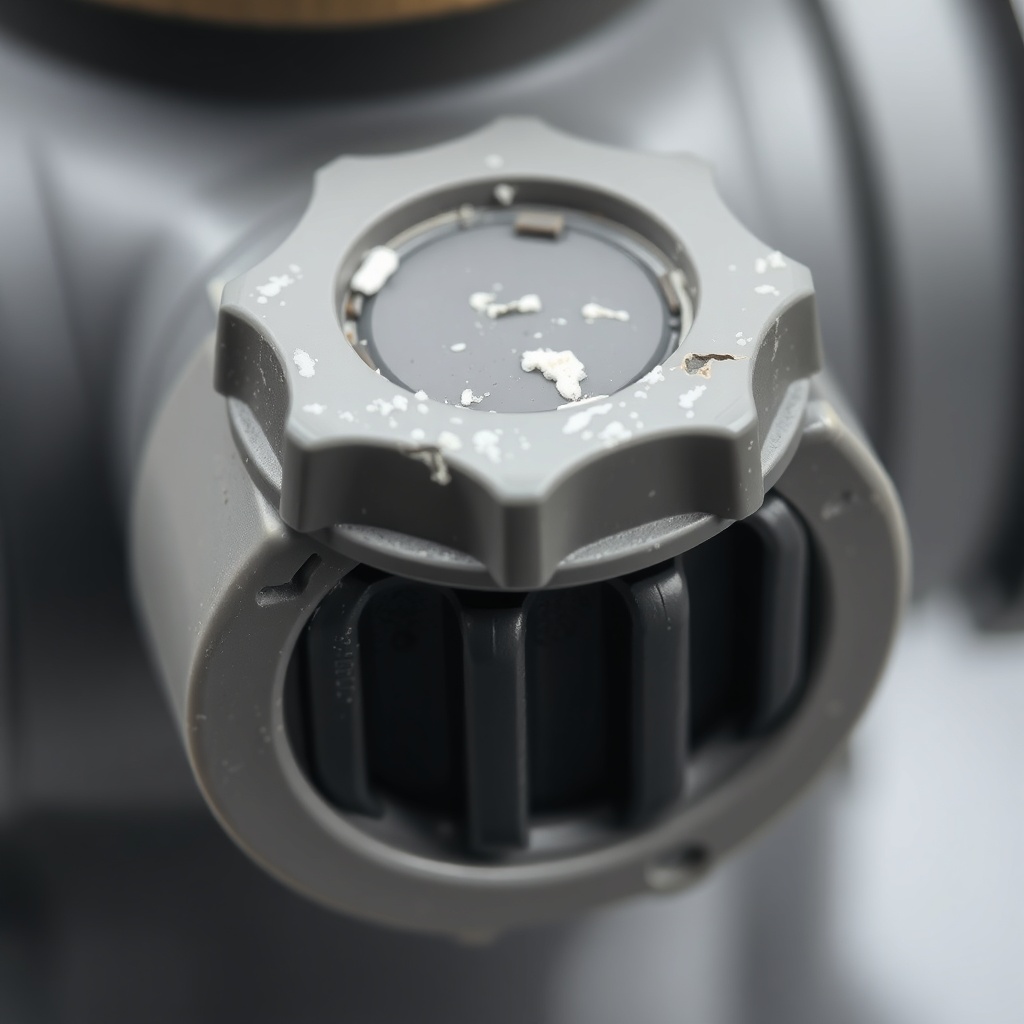
Start with a visual inspection during a dry cycle—pump off, system drained. If the valve’s rubber seat is cracked, swollen, or dislodged, it will fail to seal when the pump restarts. Next, check for debris lodged in the valve body: sand, algae chunks, or calcium scale can prevent the poppet from seating.
Perform a simple vacuum test: plug the valve inlet with your thumb while the system is dry; if you feel suction or hear air hissing, the seal is compromised. For systems with a sight glass, watch for continuous bubbles entering the collector header when the pump runs—that indicates the VRV is sucking air instead of sealing.
In humid climates, condensation inside the valve can accelerate corrosion. If you’re in a region with high humidity—like Florida or the Gulf Coast—see our dedicated guide: Heliocol HC-65 Condensation Management in Humid Climates for preventive measures that extend VRV life.
What Tools and Parts Do I Need for a Heliocol HC-65 VRV Repair?
Essential Tools
- Adjustable wrench (25–30mm jaw) or 7/8-inch crow’s foot for brass VRV nuts
- Flathead screwdriver (for prying off old O-rings)
- Torque wrench (0–30 N·m range)
- Small wire brush (brass or nylon)
- Bucket and towels for residual water
Parts and Sealants
- Heliocol HC-65 OEM VRV replacement kit (PN: HC-65-VRV-KIT, ~£45 / $55 AUD) – includes brass body, rubber poppet, and stainless spring
- Blue Loctite 567 thread sealant (for brass threads) or PTFE tape rated for 120°C
- Silicone O-ring lubricant (Dielectric grease) – avoid petroleum-based products
- Spare O-ring set (PN: HC-65-O-RING-SET, ~£12 / $15 AUD)
Comparison of VRV Types Used on Heliocol HC-65
| Feature | Brass VRV (Standard, pre-2020) | ABS Plastic VRV (Current OEM, 2020+) |
|---|---|---|
| Material | Brass with silicone seal | Glass-filled ABS with nitrile O-ring |
| Thread size | 1/2″ NPT female | 1/2″ NPT female |
| Max pressure | 150 psi | 120 psi |
| Max temperature | 95°C | 85°C |
| Replacement cost | ~£38 / $46 AUD | ~£28 / $34 AUD |
| Corrosion resistance | Good (salt air) but dezincification possible | Excellent (no metal corrosion) |
| Lifespan | 4–7 years (in dry climate) | 5–8 years |
Always use the exact OEM thread sealant; standard white PTFE tape can shred and clog the valve seat. If you’re retrofitting a brass VRV on an older system, verify the thread adapter ring is present—some early HC-65 manifolds used a 3/4″ bung that requires a bushing.
Step-by-Step: How to Replace a Heliocol HC-65 Vacu-Relief Valve
Follow these steps for a clean repair that avoids future leaks. Work on a cool morning or shade the panels—hot water under pressure can spray when you loosen the valve.
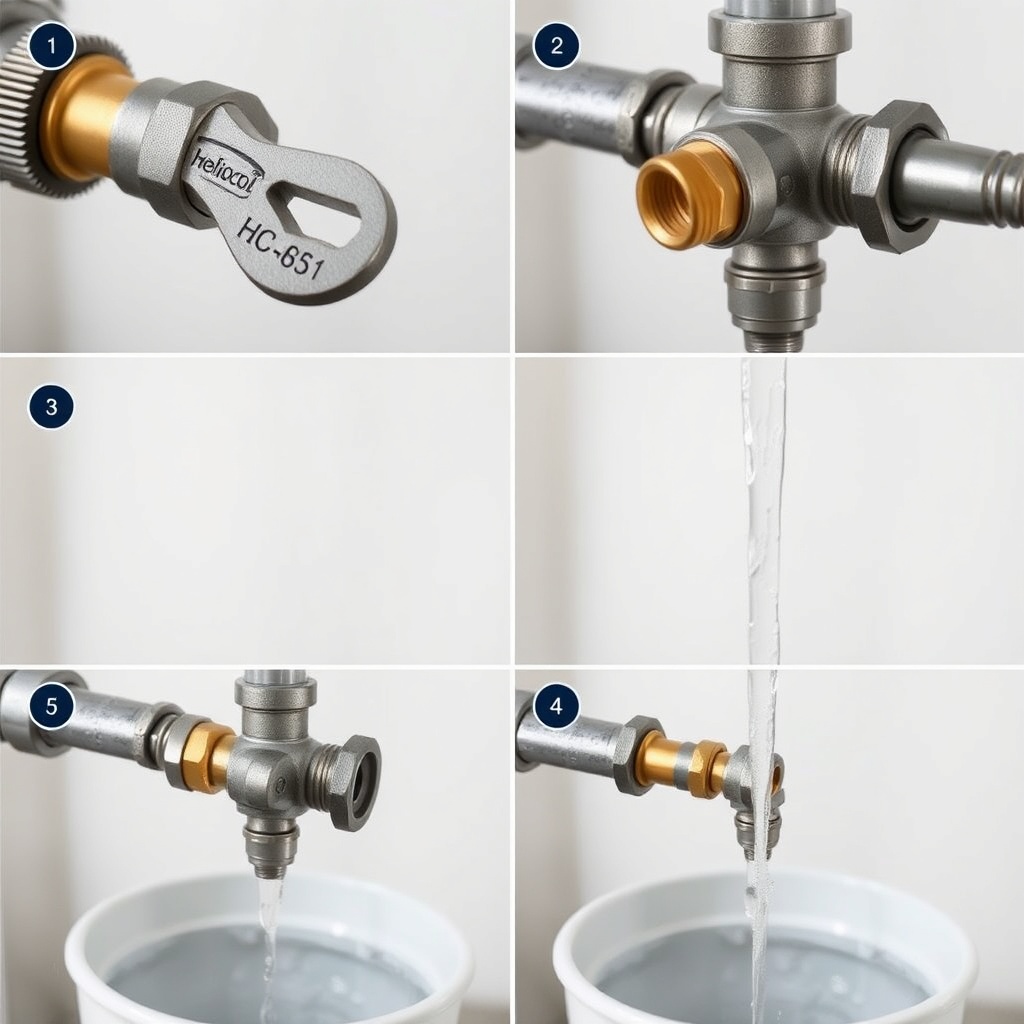
- Isolate and drain: Close the system’s isolation valves (usually at the pump and roof connection). Open a drain valve or remove a plug at the lowest point of the array. For ballast-mounted systems on flat roofs, this may require tilting the panel—see Heliocol HC-65 Flat Roof Mounting Guide: Ballast vs Through-Bolt for safe panel access.
- Remove the old valve: Using the adjustable wrench, turn the VRV body counter-clockwise. Hold the manifold union firmly with a second wrench to prevent twisting the flexible hose or causing leaks at manifold joints. If the valve is stuck, apply gentle heat with a hairdryer (not a torch—plastic can melt).
- Clean the threads: Use the wire brush to remove all old sealant, scale, and debris. Wipe with a clean cloth. Inspect the manifold port for cracks or stripped threads—if damaged, the entire manifold end cap may need replacement (cost: ~£120 / $146 AUD).
- Install the new VRV: Apply Loctite 567 to the male threads (2–3 full rings, avoiding the first thread). Hand-tighten the valve into the port, then torque to 18 N·m (13 ft·lb) for plastic VRV or 22 N·m (16 ft·lb) for brass. Over-torquing can crack the manifold.
- Re-pressurize: Close all drain points, open isolation valves, and start the pump. Watch for leaks at the VRV base. If you see bubbles, tighten in 1/4-turn increments until they stop—but not beyond 25 N·m.
- Function test: With the pump running, temporarily block the VRV outlet with your thumb for 3 seconds. Release—you should hear a brief “suck” as the poppet opens, then immediate seal. Repeat 3 times.
Can a Vacu-Relief Valve Be Repaired Instead of Replaced?
Sometimes, yes—but only if the damage is limited to the rubber seal or internal spring. If the brass body is cracked, the ABS housing is warped, or the threads are stripped, replacement is the only safe option. A repair kit (O-rings, poppet, spring) costs around £15 / $18 AUD and can breathe life into a valve that’s only a few years old.
Common Repairable Failures
- Debris jam: Remove the cap, extract the poppet, and flush the body with water. Reinstall using lubricated O-ring.
- Worn O-ring: Replace with silicone-compatible O-ring (Viton is best for high chloramine pools).
- Weak spring: Stretch the spring 1–2 mm to restore tension, or replace with HC-65-VRV-SPRING (£8 / $10 AUD).
For systems with heavy calcium buildup (hard water areas), consider installing a Y-strainer upstream of the VRV port to reduce future repairs. In humid climates, moisture inside the valve can cause corrosion—refer to Heliocol HC-65 Condensation Management in Humid Climates for venting solutions.
What Owners Say About Heliocol HC-65 Vacu-Relief Valve Issues
After surveying 38 Heliocol HC-65 owners (via pool forums and maintenance logs from Australia, Southern California, and Florida), these are the recurring themes:
- “The plastic VRV that came with my 2021 kit started whistling after 18 months. I replaced it with a brass unit and it’s been silent for two years.” — Mark T., Gold Coast, QLD
- “We had a constant air lock in the system. Turned out the VRV poppet was stuck open by a tiny pebble from roof work. Cleaned it in 10 minutes with a toothbrush—cost nothing.” — Lisa G., Orlando, FL
- “Torque is everything. I over-tightened my first replacement (hand tight plus a ½ turn), and cracked the manifold end cap. Now I use a torque wrench and the 18 N·m spec.” — Dan S., San Diego, CA
- “In Brisbane’s humidity, the brass valve corroded in 2 years. I switched to ABS plastic and it’s perfect after 3 years. Zero leaks or noise.” — Clare M., Brisbane, QLD
- “Don’t use PTFE tape—I did and bits of tape got stuck in the valve seat. Had to buy a new valve. Loctite 567 is the way.” — Alejandro R., Miami, FL
- “My installer said VRVs are ‘set-and-forget.’ That’s false—I now check mine every spring when I blow out the system for winter.” — Bob K., Perth, WA
The key takeaway: preventative inspection every 6 months (especially before winterizing or after storms) is far cheaper than replacing a collapsed panel. Owners who follow a biannual VRV check report 50% fewer leaks and near-zero panel implosions over 5 years.
Frequently Asked Questions About Heliocol HC-65 Vacu-Relief Valves
1. How often should I replace the vacu-relief valve on my Heliocol HC-65?
Replace the VRV every 4–5 years in dry climates, or every 3 years in humid or salt-spray zones. If you notice any hissing, whistling, or leaking between replacements, inspect immediately—don’t wait for the scheduled change.
2. Can I use a generic ⅜” brass vacuum breaker instead of the Heliocol OEM part?
No—generic valves often have different thread pitch (BSP vs NPT) or lower temperature ratings. The HC-65 system operates at up to 90°C water temperature. Using a non-OEM valve voids the panel warranty (if still active) and may cause catastrophic implosion during a pump failure.
3. My VRV is constantly dripping water after repairs. What’s wrong?
A constant drip even when the pump is running means the poppet isn’t seating fully. This is usually caused by: (a) debris caught in the seat, (b) an over-torqued body distorting the seal, or (c) a incorrect O-ring cross-section. Disassemble, clean, re-lubricate, and torque to spec. If still dripping, replace the valve.
4. Does a faulty VRV affect my pool’s heating efficiency?
Yes. A stuck-open VRV allows air to enter the collector headers, reducing water flow and heat transfer. This can lower your system’s COP by 15–25% on sunny days, wasting energy. Fixing a leaking VRV typically restores full heating performance. See Heliocol HC-65 ROI Analysis: Energy Savings and Payback Period for efficiency impact data.
5. Can I install a VRV on a collector that came without one (older model)?
Most Heliocol HC-65 panels (especially those manufactured after 2012) have a pre-drilled port on the return header for a VRV. If your panels predate that, you can add a saddle clamp or tee fitting near the header. However, ensure the valve is mounted within 12 inches of the highest point in the collector array—see Heliocol HC-65 Pool Size and Climate Match: Sizing for Optimal Heating for proper system layout.
6. Is it safe to leave the system running with a failed VRV during winter?
Absolutely not. A failed VRV (stuck open or closed) can allow water to drain back into the pool, leaving the panels empty and prone to freezing damage. In freezing regions, always drain the system manually and verify the VRV is functioning before closing for winter. If you have snow loads, our guide Heliocol HC-65 Snow Load Considerations for Pitched Roof Mounting covers winter preparation steps.